Timelines are among the most engaging types of visual communication because they are immediately recognizable. Adding them to many types of documents is easy, and it’s even possible to create a timeline in Microsoft Word.
Note that we said it’s possible, not that we endorse doing this. After we take you through the steps of creating a timeline in Word, we’ll share some timeline templates that will make you think twice about using a word-processing program for graphic design.
With Venngage’s Timeline Maker, you can quickly create beautiful and engaging timelines that you can use to visualize projects or schedules in your Word documents by simply importing them. And with the new smart templates rolling out, you can save even more time.
Click to jump ahead:
- How to create a timeline in Microsoft Word
- Timeline templates for Microsoft Word
- How to create a Microsoft Word timeline in Venngage
How to create a timeline in Microsoft Word
There’s no doubt that Word isn’t a graphic design tool, but the program does provide a couple of ways to create simple timelines in your documents. The two methods are creating the timeline manually or using SmartArt graphics.
The manual process will take longer, but you’ll end up with a more custom result than using SmartArt graphics. Let’s break down the steps with each process and check out the finished product.
Manual timeline in Microsoft Word
As we said, creating a timeline manually in Microsoft Word by drawing a series of shapes and text blocks and then inserting icons will take considerably longer, but you will get a more custom and tweakable end result.
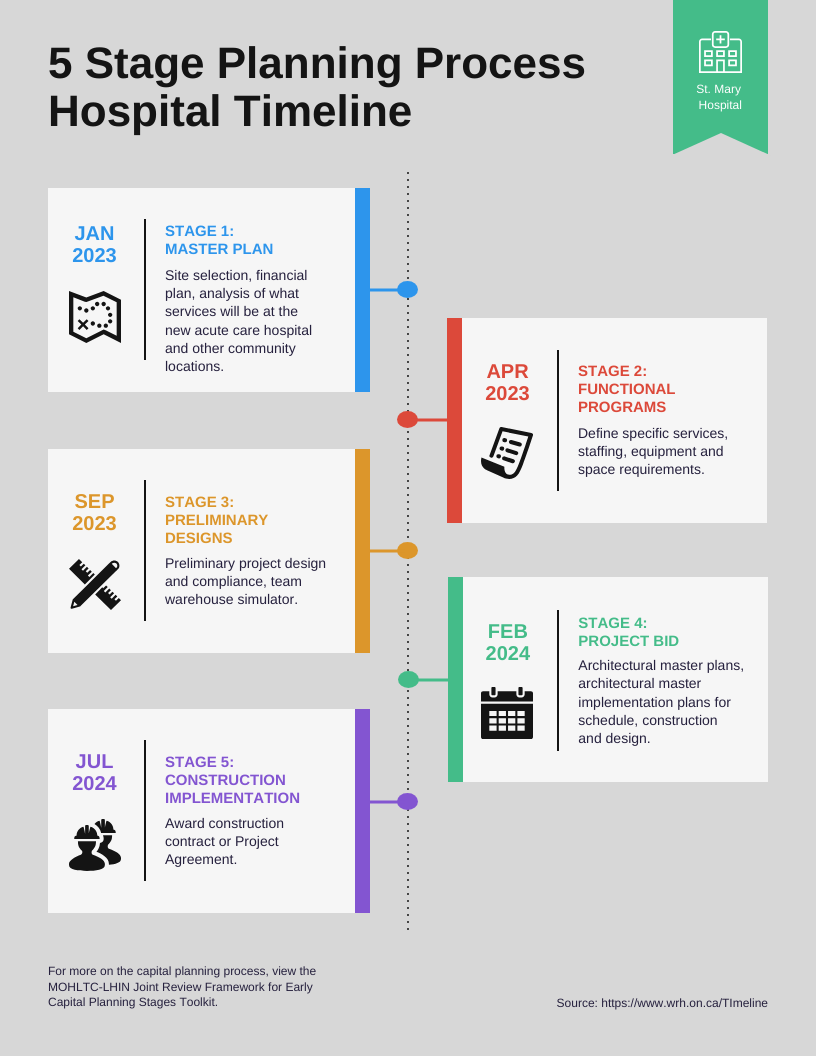
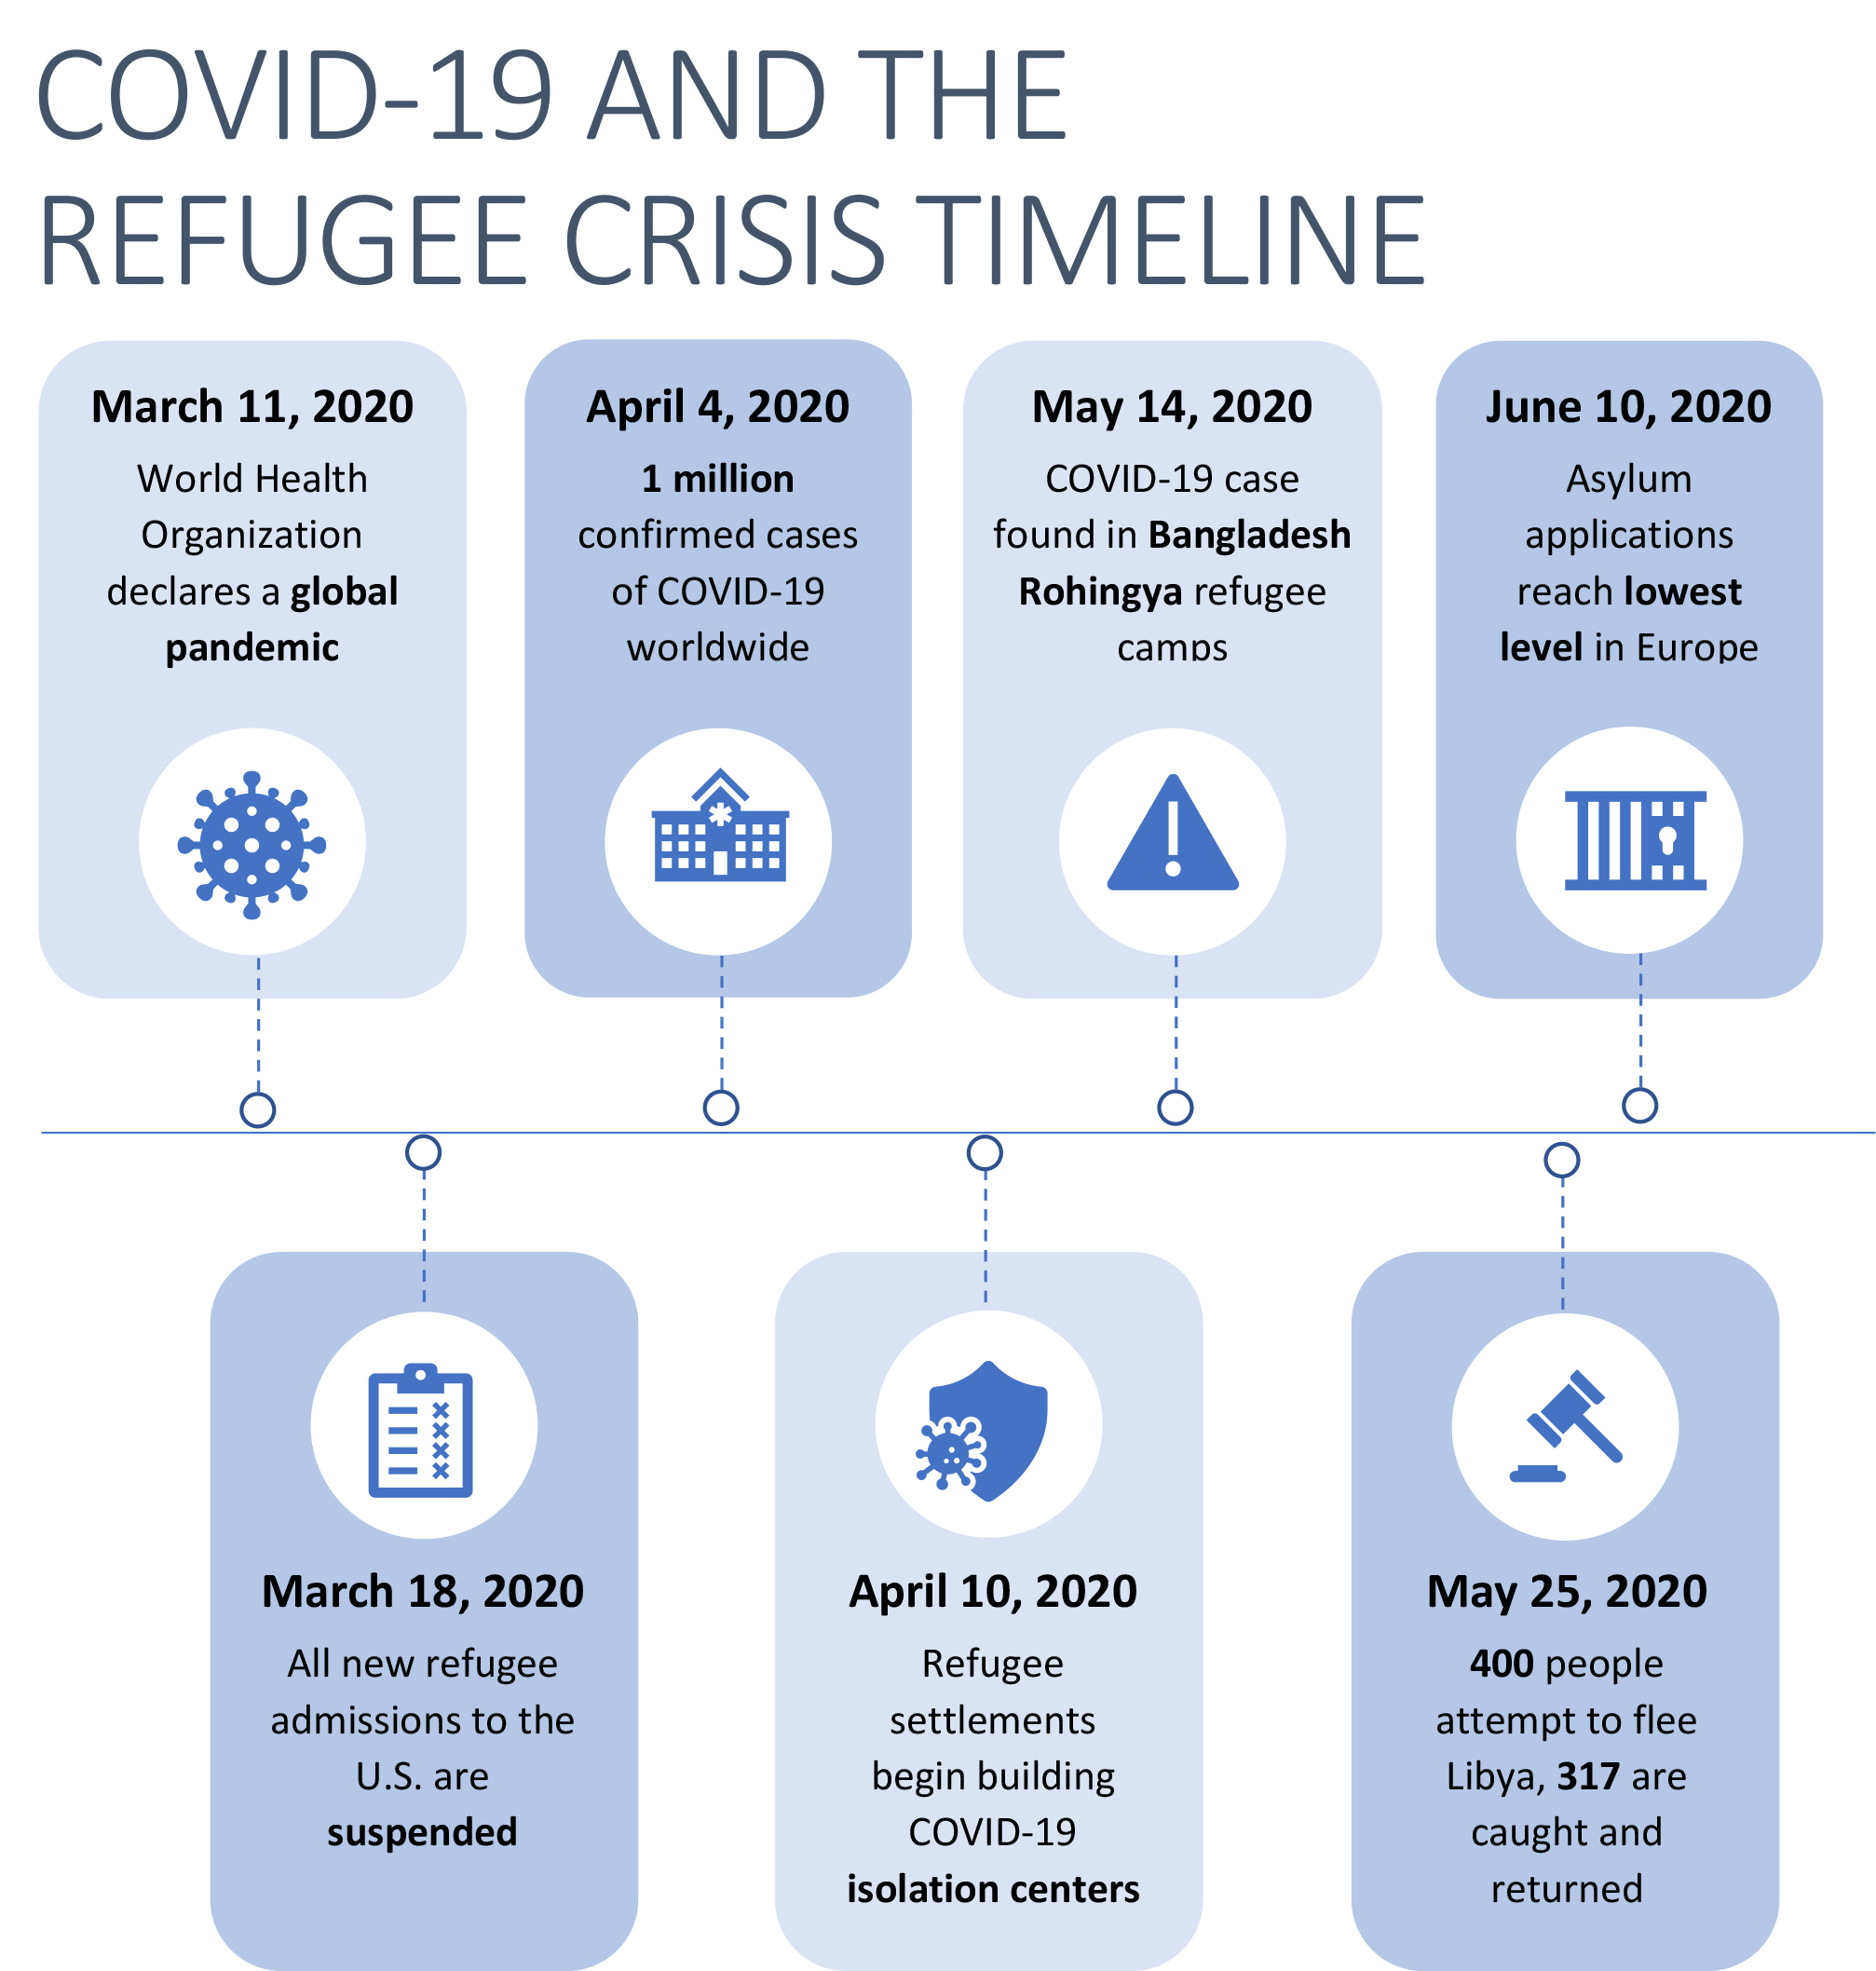
Here’s the timeline template we’re going to create for Word (inspired by a Venngage template):
Step 1: Add title
Type and style the headline. In this case, we used one of the preset design themes in Word, but you don’t have to do that.
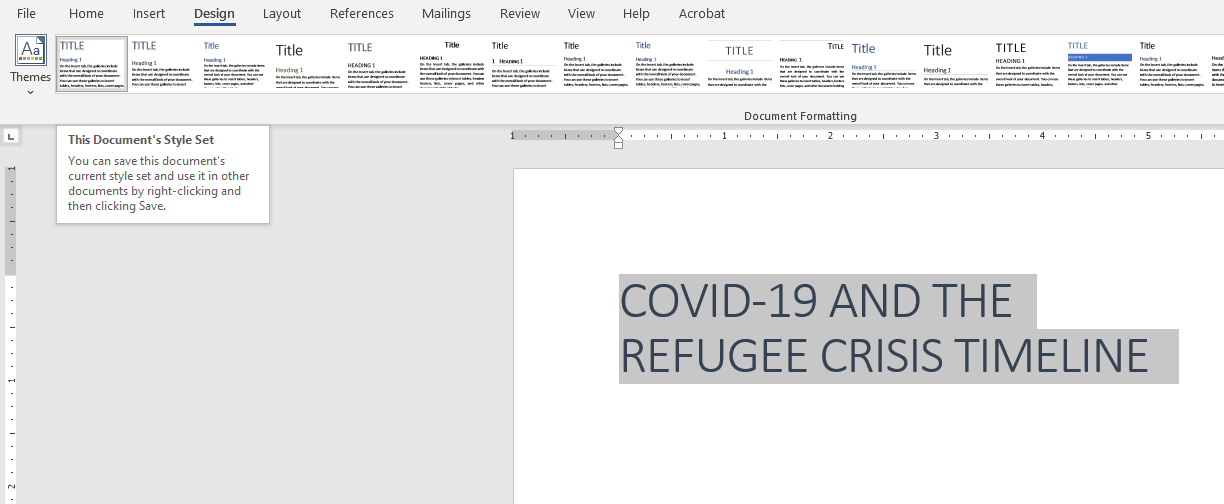
Step 2: Draw timeline
Draw the center timeline by going to “Insert” and selecting one of the line shapes.
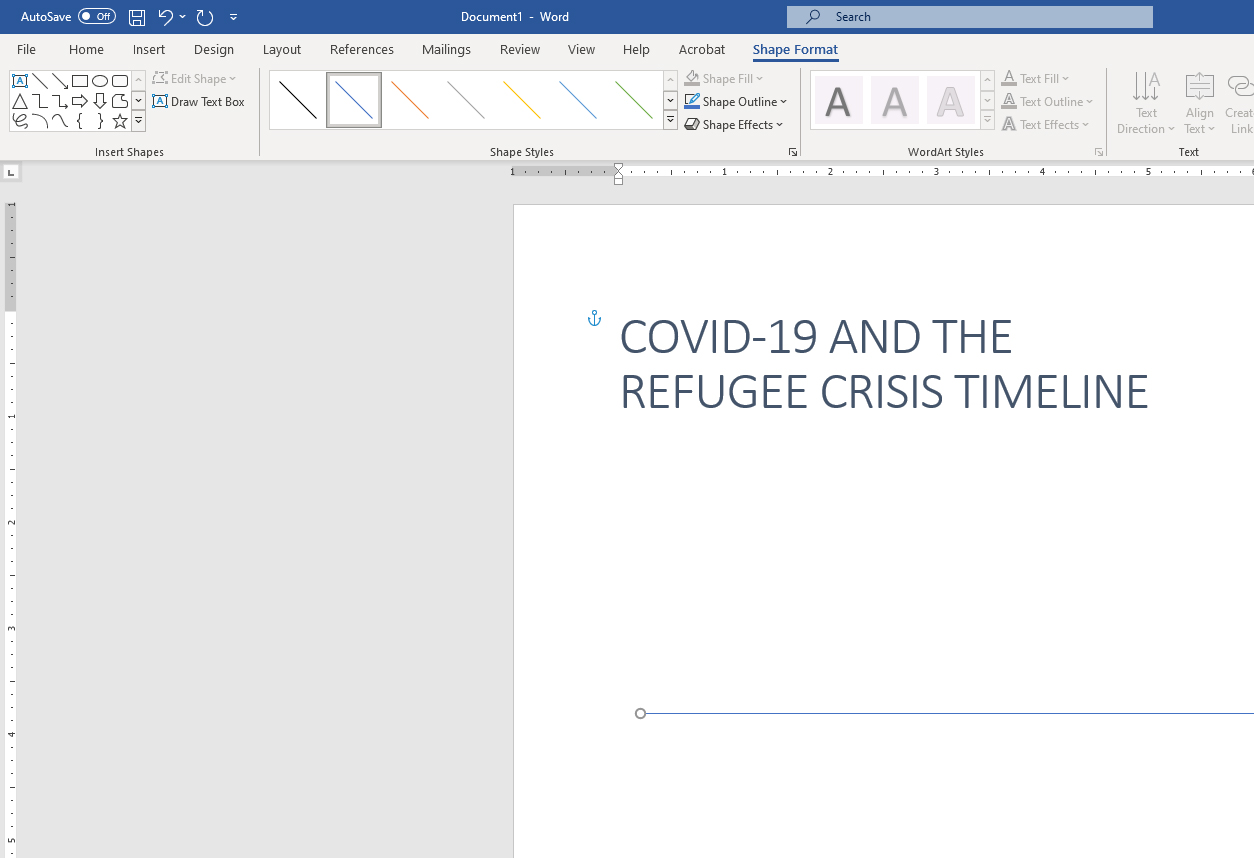
Step 3: Draw rectangle shapes
Populate the frame with your timeline entries. Go to “Insert” and add rectangle shapes. In this case, we chose to alternate above and below the line because that’s what was in the original we were emulating. The biggest benefit of this is you can basically have twice the amount of content.
The default in Word is blue boxes with black borders, while text boxes default to white with black borders. So you need to change those under the Shape Format menu.
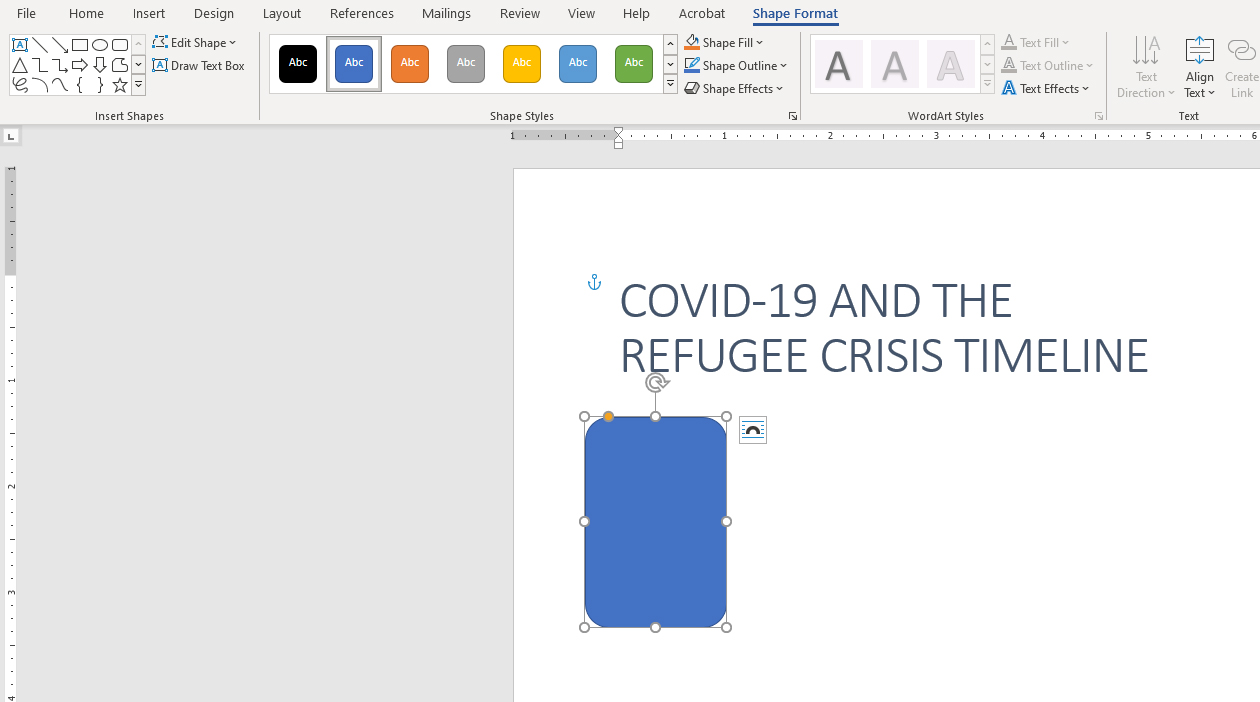
The default in Word is blue boxes with black borders, while text boxes default to white with black borders. So you need to change those under the Shape Format menu.
Step 4: Add and style content
Insert text boxes, add the content, bold the date and part of the entry. Again, remember that you’ll need to change the default style of the text box.
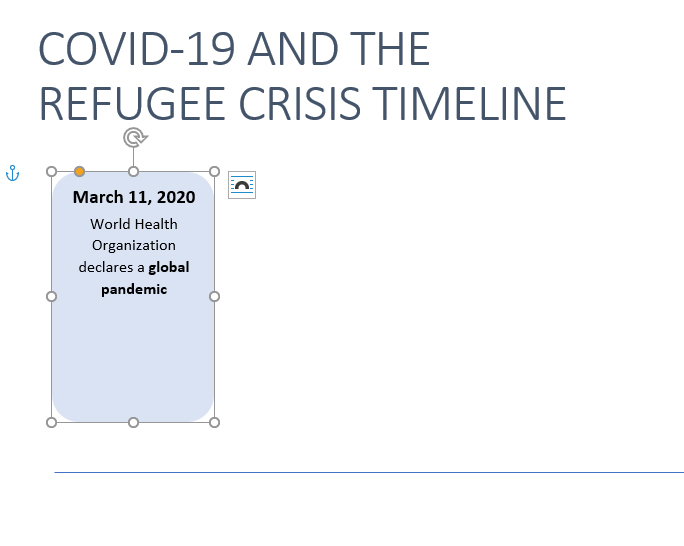
Step 5: Add white circles and icons
Under the “Insert” menu, add and size a circle, centering it within the blue shape. Under “Insert” > “Icon”, find the best option for each entry. This requires some finessing, as you need to set the icon not to wrap around text and then adjust it to be in front of text.
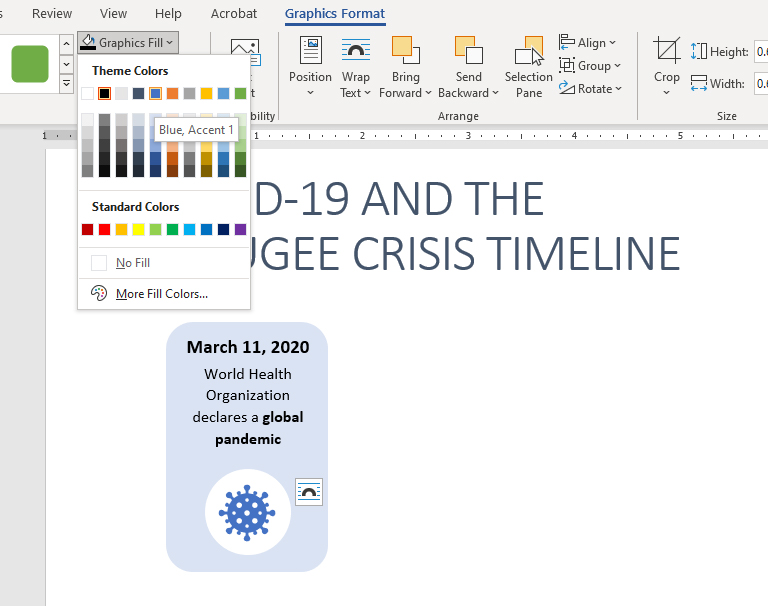
Step 6: Add connecting lines and circles
Insert lines and circles to connect the timeline entries to the center. Adjust everything to get the ideal alignment.
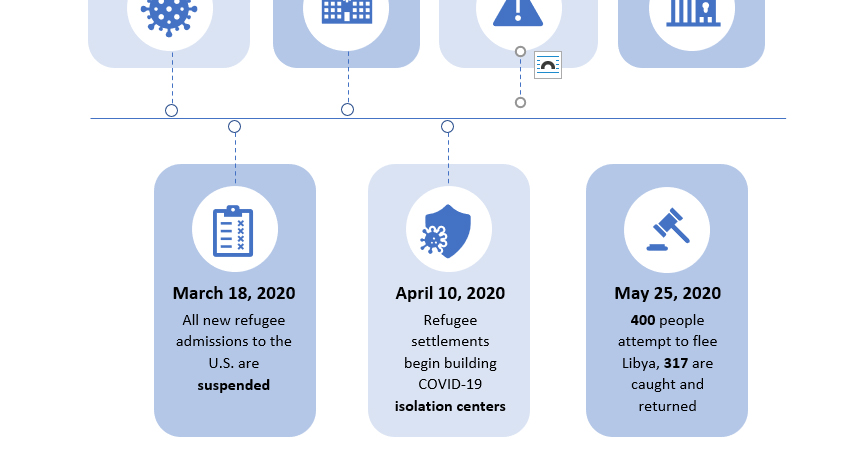
Finished product: Not too bad, but very time-consuming
It took quite a bit of fussing and manual adjustments, but the finished product is pretty close to the inspiration design.

SmartArt timeline in Microsoft Word
Word offers a pair of timelines in its stock SmartArt gallery, and the creation process for SmartArt timelines is considerably shorter than for custom-made ones. But the result leaves quite a bit to be desired.
Step 1: Insert the title
This is the same first step as in the manual example. Type and style your title as you wish.

Step 2: Insert SmartArt timeline
Go to “Insert” > “SmartArt” and choose from the gallery of available options, which is relatively limited for timelines. There are only two graphics made for timelines, though there are some other SmartArt graphics that would probably work, too.
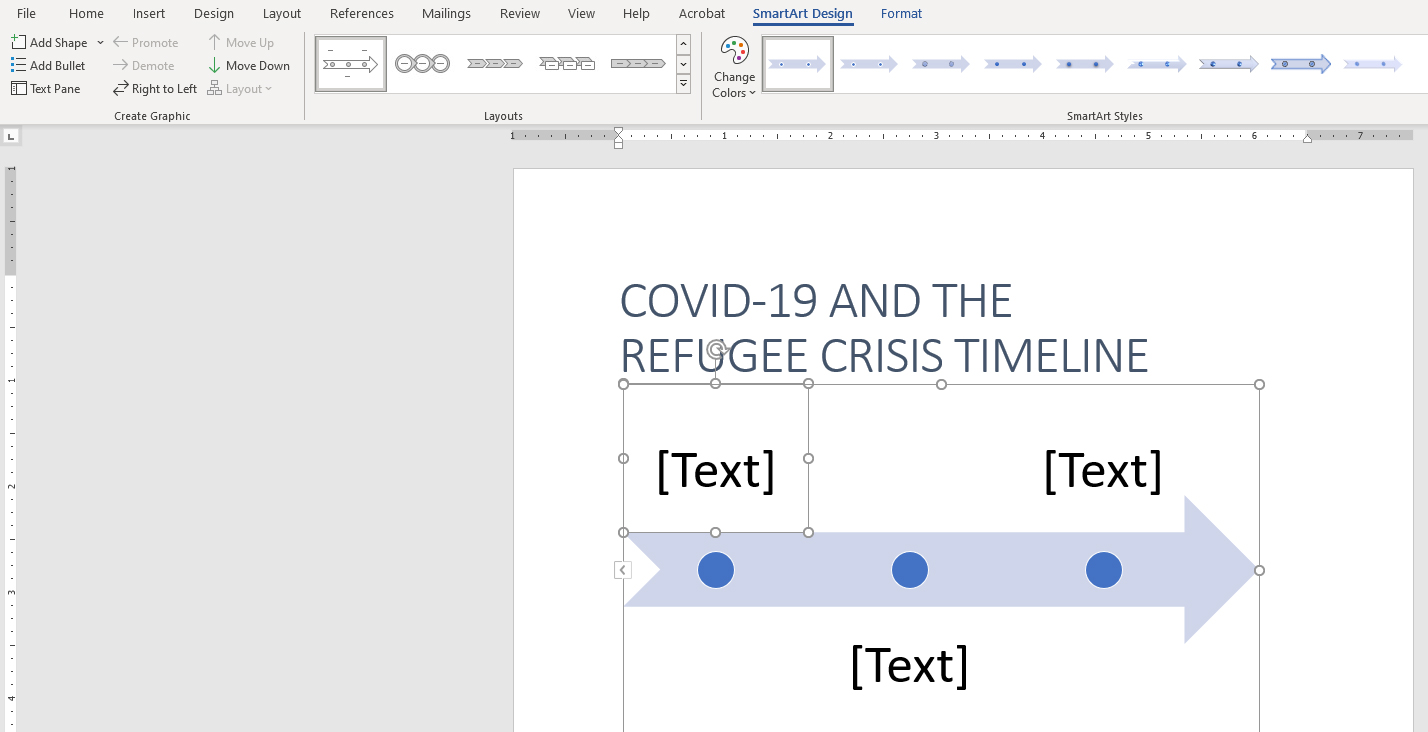
Step 3: Write the text
At the top left of the SmartArt tab, pull up the text pane and write all of your bullet points. While you can do some tweaking of the text, it’s difficult to adjust the size of the boxes to get them exactly where you want them.
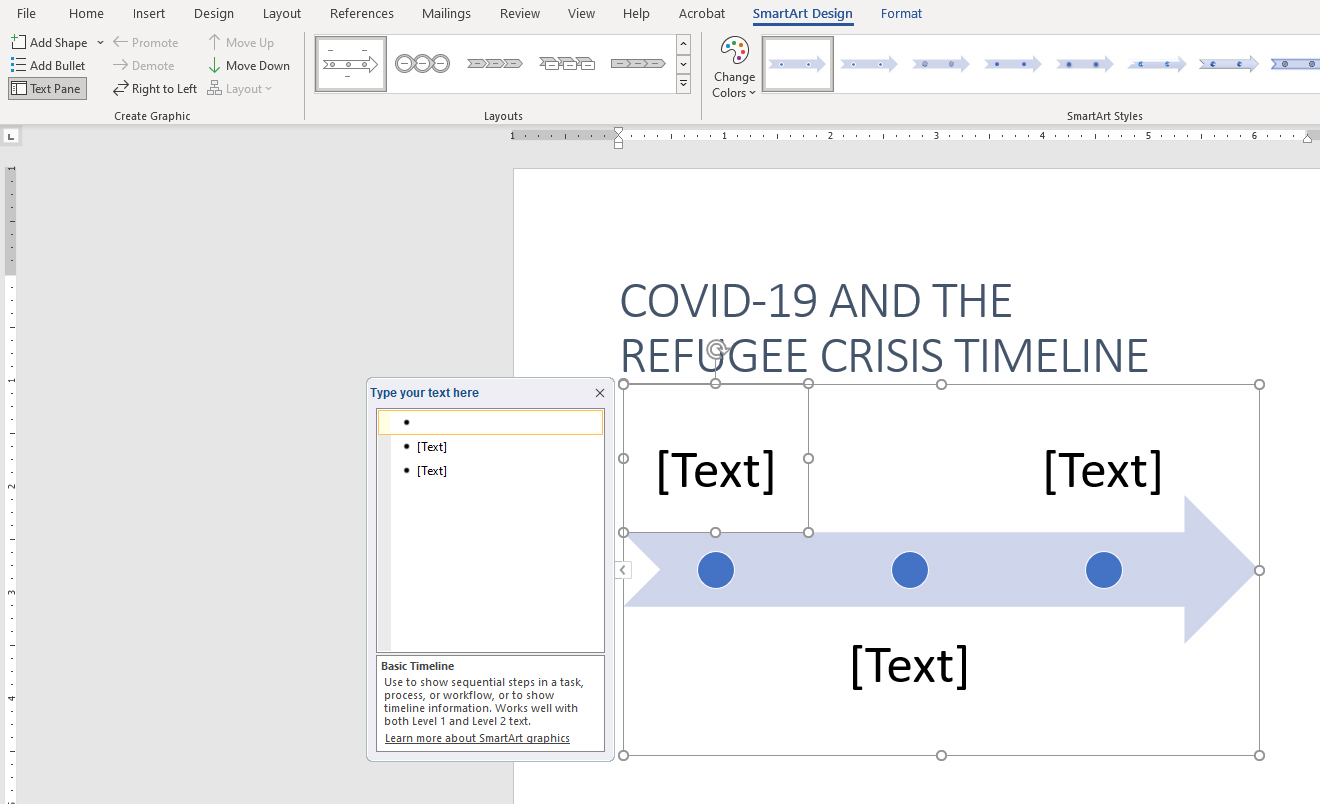
Step 4: Do some manual text adjustments
You can bold some of the text, but you’re pretty much locked into the sizing of elements depending on the SmartArt timeline you choose.
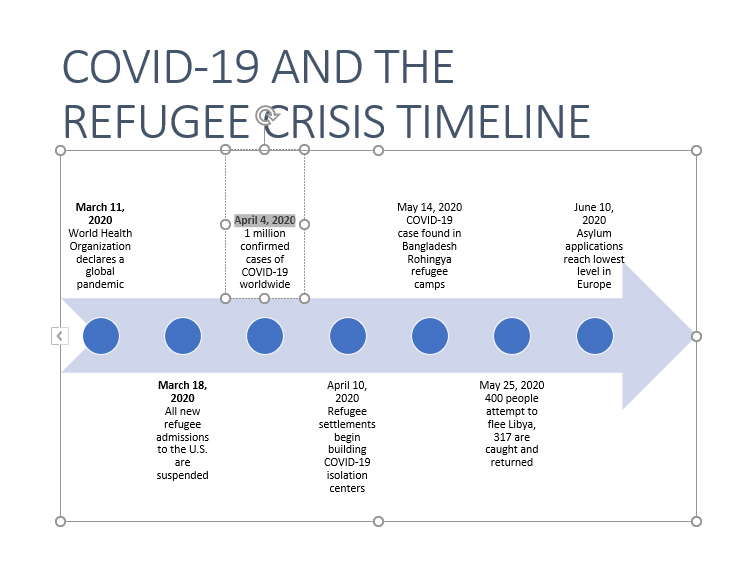
Step 5: Prepare for icons
To insert our icons, we first need to make some room for them. You won’t be able to delete the preloaded circles, but you can select them and change their format to having no fill or outline and that will make them appear invisible.
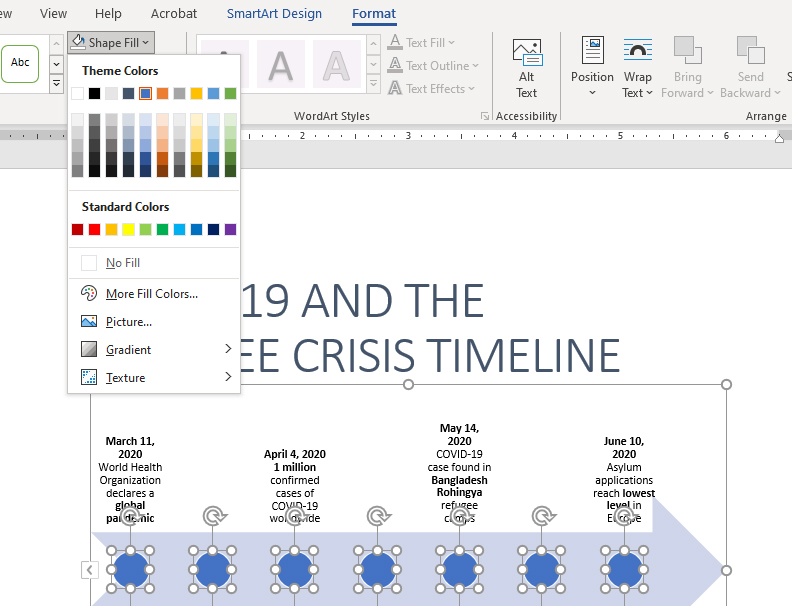
Step 6: Insert icons
Under the insert menu, pick the icon drop down and search for appropriate entries. You’ll need to change how they are aligned by bringing them in front of the text under the graphics format menu. Change the color there, too.
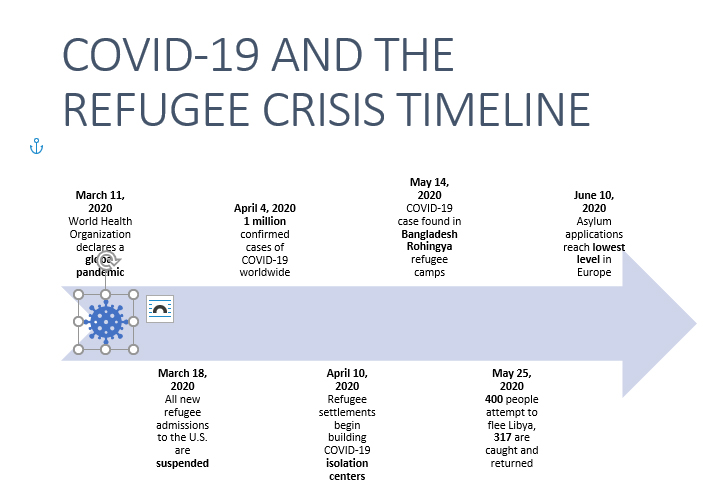
In addition to not having a huge supply of icon options, having to do so many manual adjustments made this SmartArt graphic not quite smart enough for us.
Finished product: Hard to read
The final result is hard to read because the text automatically adjusted to make room for each entry. Writing the text and having it appear was a nice time-saver, but those time savings were completely erased by the other adjustments we had to make.
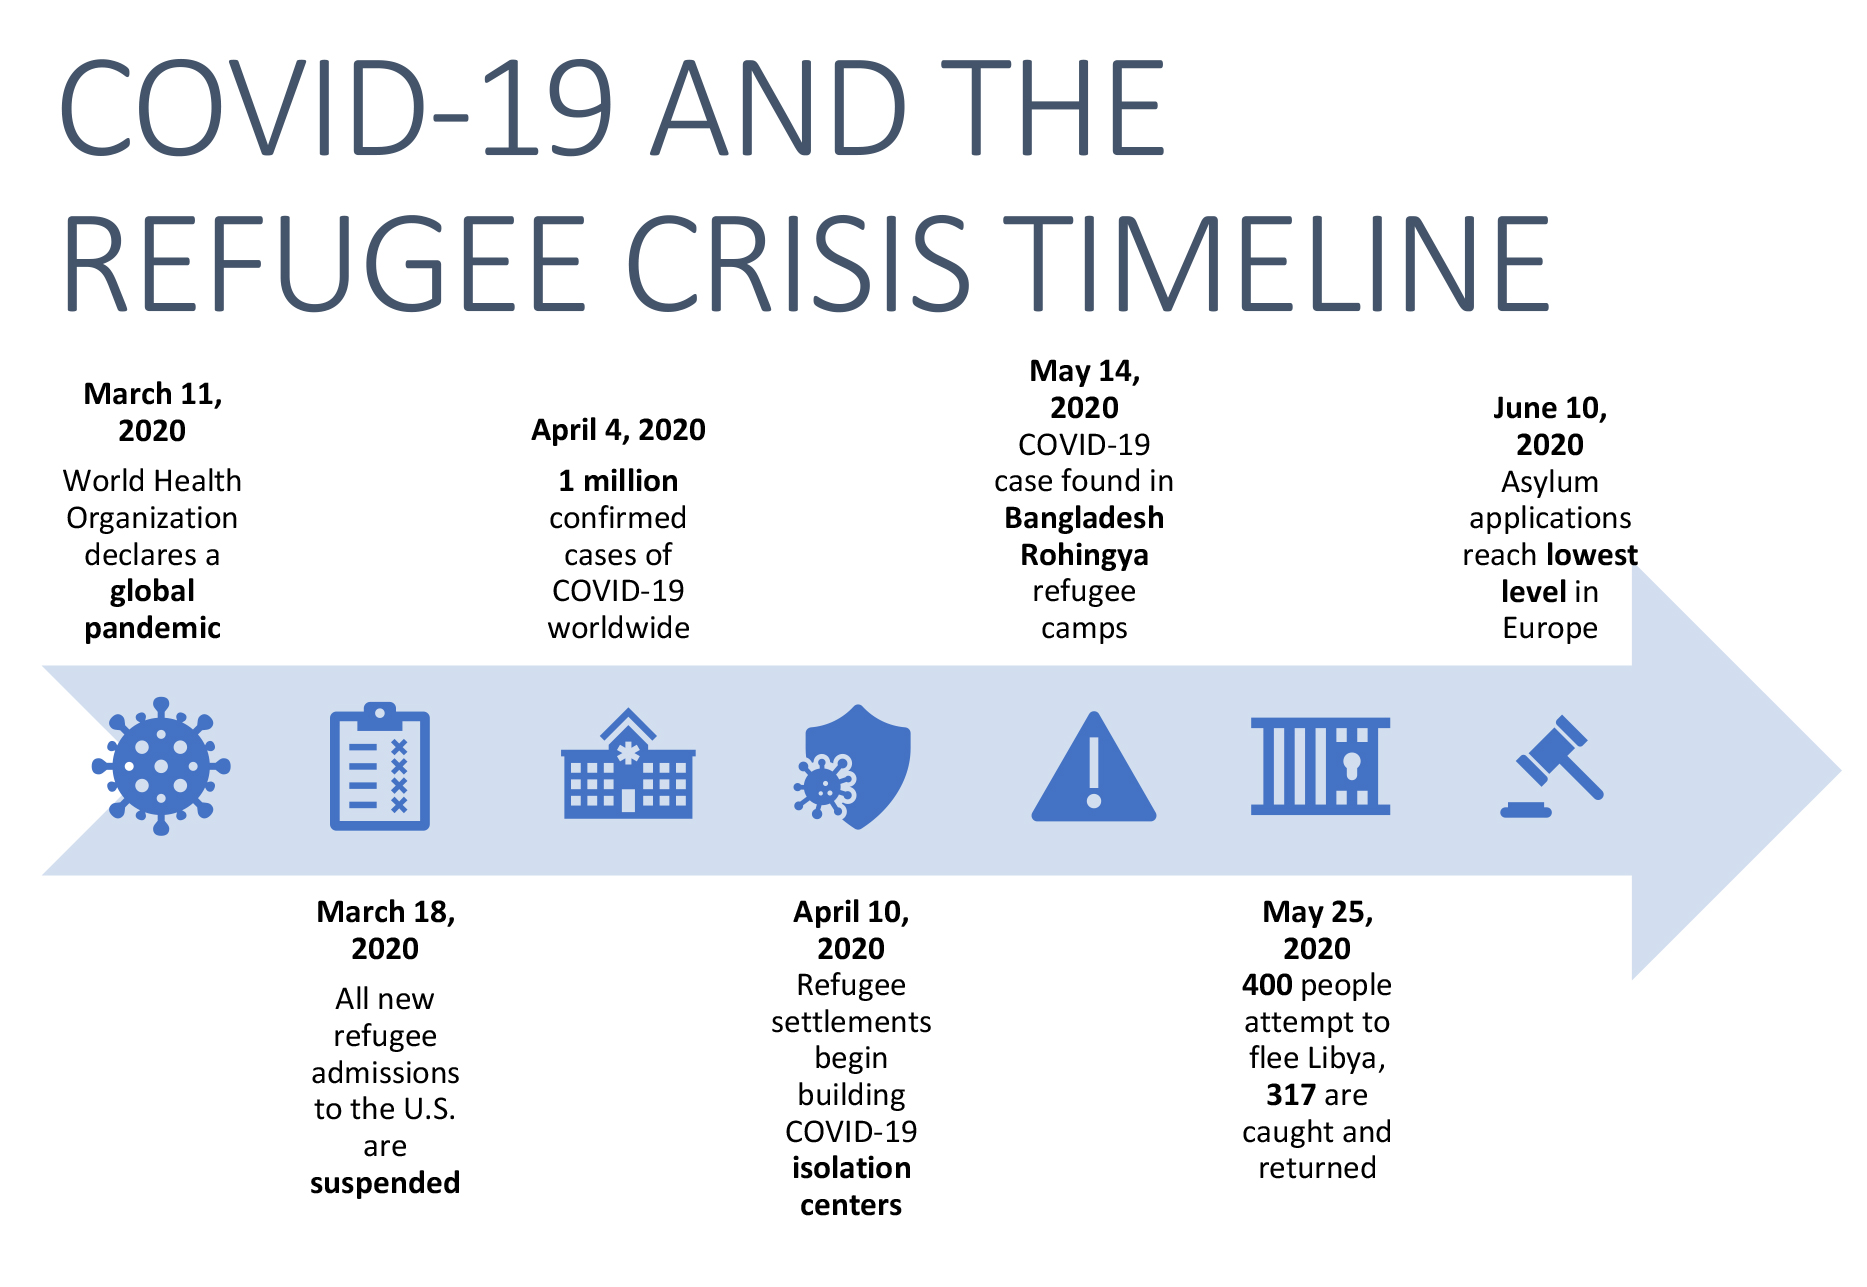
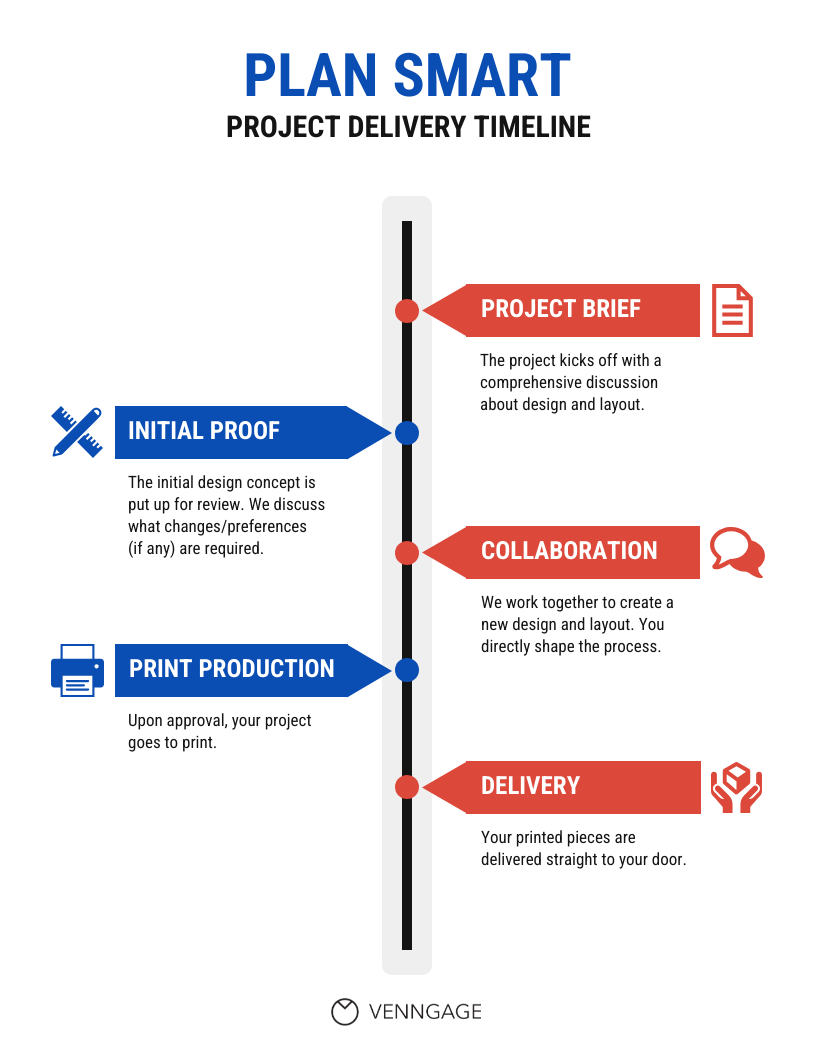
Here’s the simple, news-y timeline we were trying to replicate. The manual route got us much closer to this finished product, but in both cases, the experience was clunky and time-consuming and ultimately not as effective as this version.
Related: 40+ Timeline Template Examples and Design Tips
If you’re looking for SmartArt-like functionality that lets you automatically add, resize and move content around, Venngage’s new smart templates can help you save time while also creating a fully custom design.
Timeline templates for Microsoft Word
Before you start creating a timeline for Microsoft Word, you first need to determine where in your document it will be placed. If it will fit in a page with other content, decide whether the timeline events will fit within a heavily horizontal layout.
On the other hand, if you have the freedom to let the timeline take up an entire page, use more real estate by creating a vertical timeline. Remember that Word’s default specifications give you only about 600 x 800 pixels of usable space, considering the size and margins.
Here are some timeline templates for Microsoft Word to get you inspired as you bring your vision to life.
Project timeline templates for Word
Keeping projects on track is crucial to the success of any organization. In some cases, a delay of even a day could cost big bucks. Project timelines can be used during the planning phases of projects and during the process to keep everything moving smoothly.
Project timelines can include specific dates, months or weeks on which specific tasks are expected to be completed. That requires the planning of the project to be advanced enough that it’s possible to note these dates, of course.
If you don’t yet have specific dates or timeframes outlined, that’s OK. For informational or planning purposes, consider this free project timeline template that will help all interested parties understand the workflow.
Related: 15+ Simple and Editable Project Timeline Templates You Can Use in Word & PowerPoint
History timeline templates for Word
Timelines can also be used to catalog events from the world at large, including ancient and recent history. These types of timelines are most often used for content marketing purposes, but they can also be used to educate and inform within Word documents.
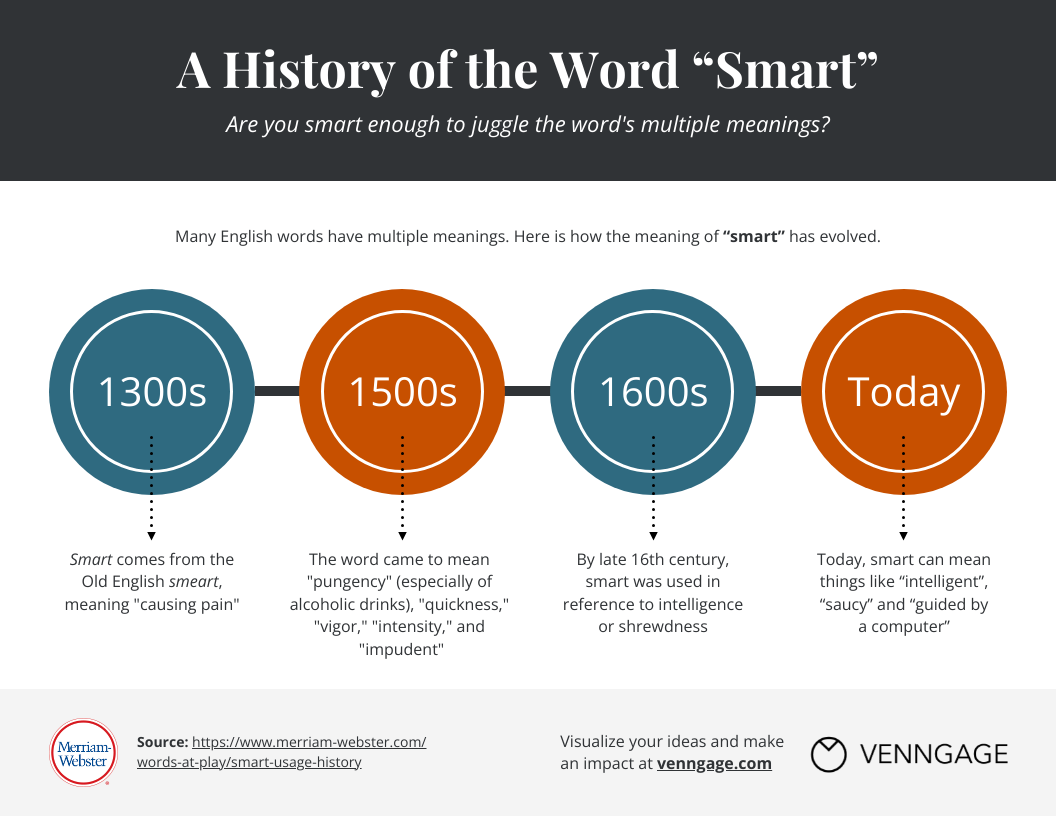
History timeline templates can be useful additions to Word documents, especially when you want to make sure whoever is reading it has a basic level of knowledge.
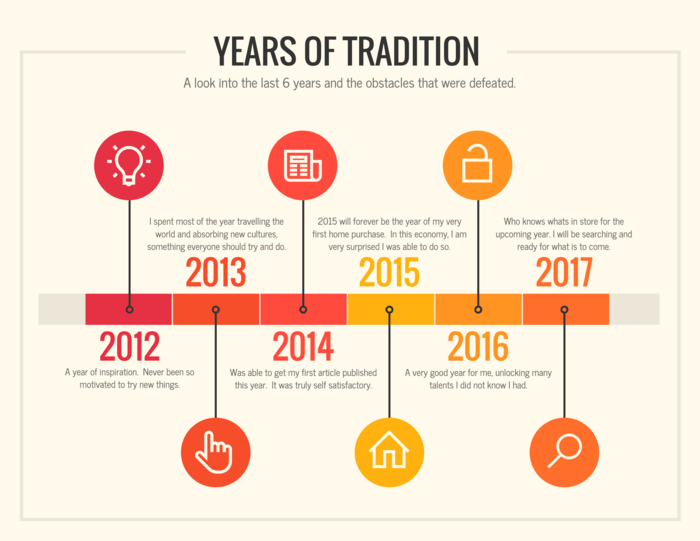
History timelines aren’t limited to world events or developments. This example shows how a personal history can be conveyed in a history timeline that would easily slot into a Word document like a job application or resume.
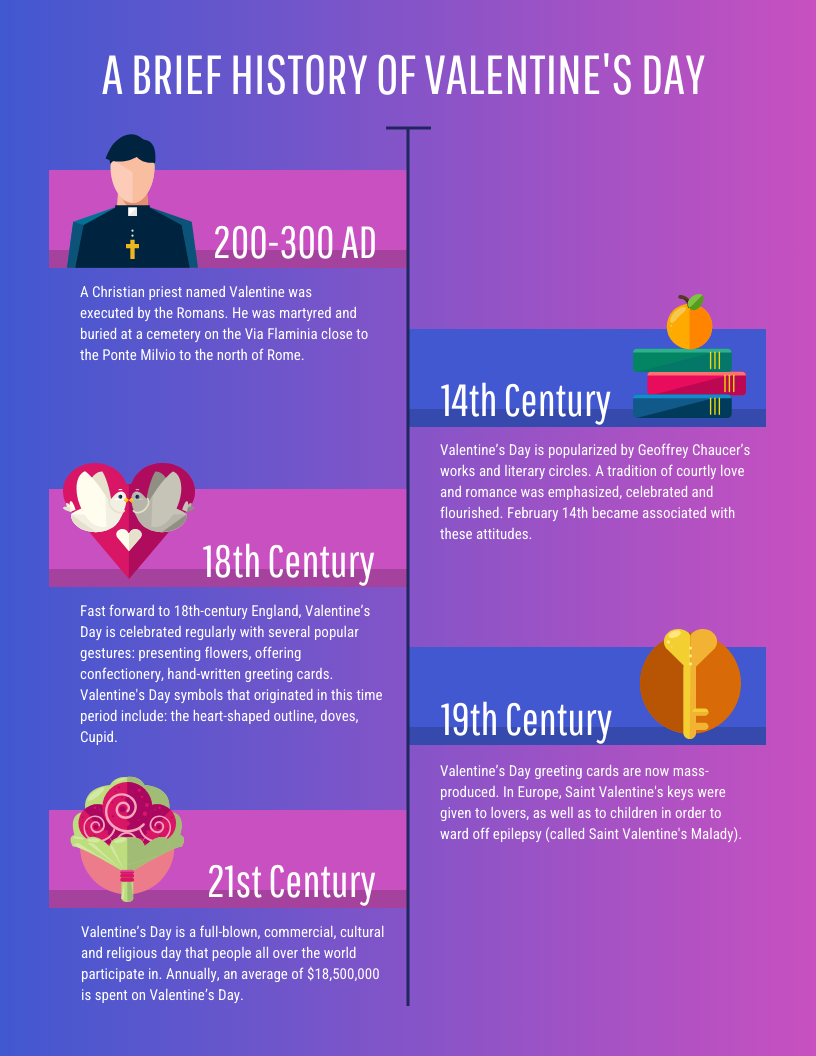
History timelines are also a good fit for a vertical presentation (more of those momentarily). This is often the best of both worlds, as it takes up basically an entire Word page.
Vertical timeline templates for Word
Word documents default to a letter-sized page, or 8.5 inches wide by 11 inches tall. With a standard 1-inch margin around the page, that leaves a vertically oriented rectangle on each page. When creating timelines for Word, consider ones that get the most of portrait orientation.
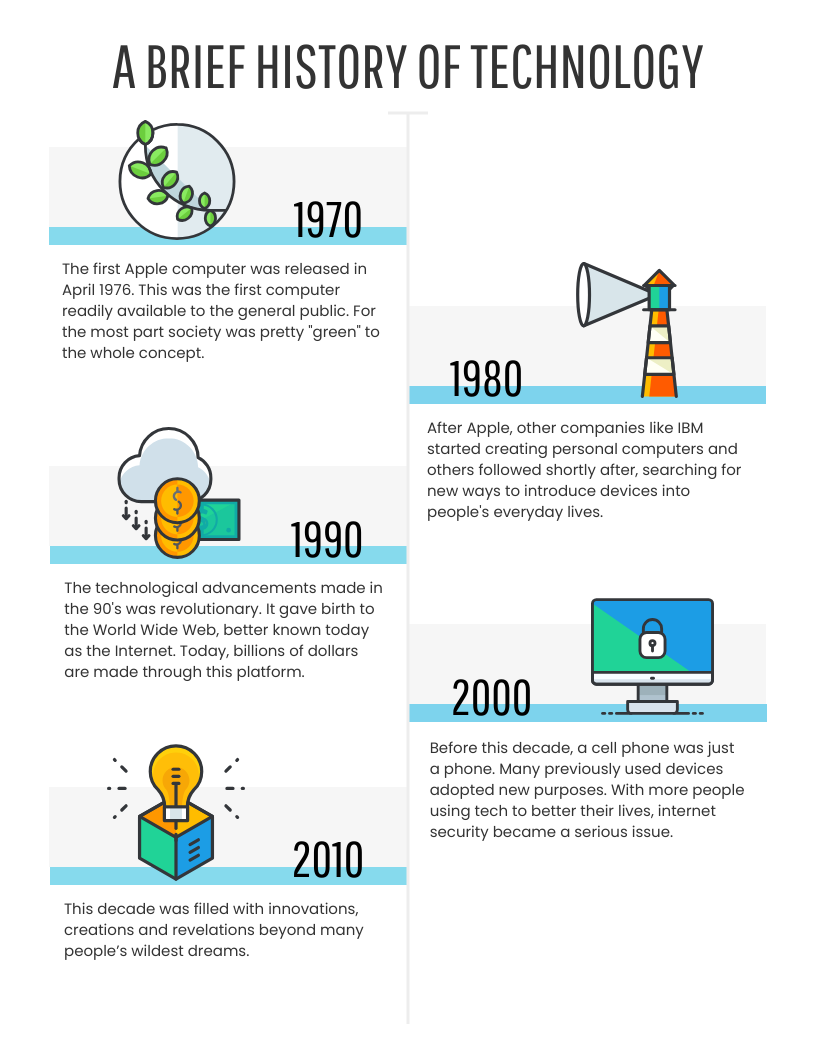
This technology history timeline would easily slot into any Word document thanks to its simple design and modern style.
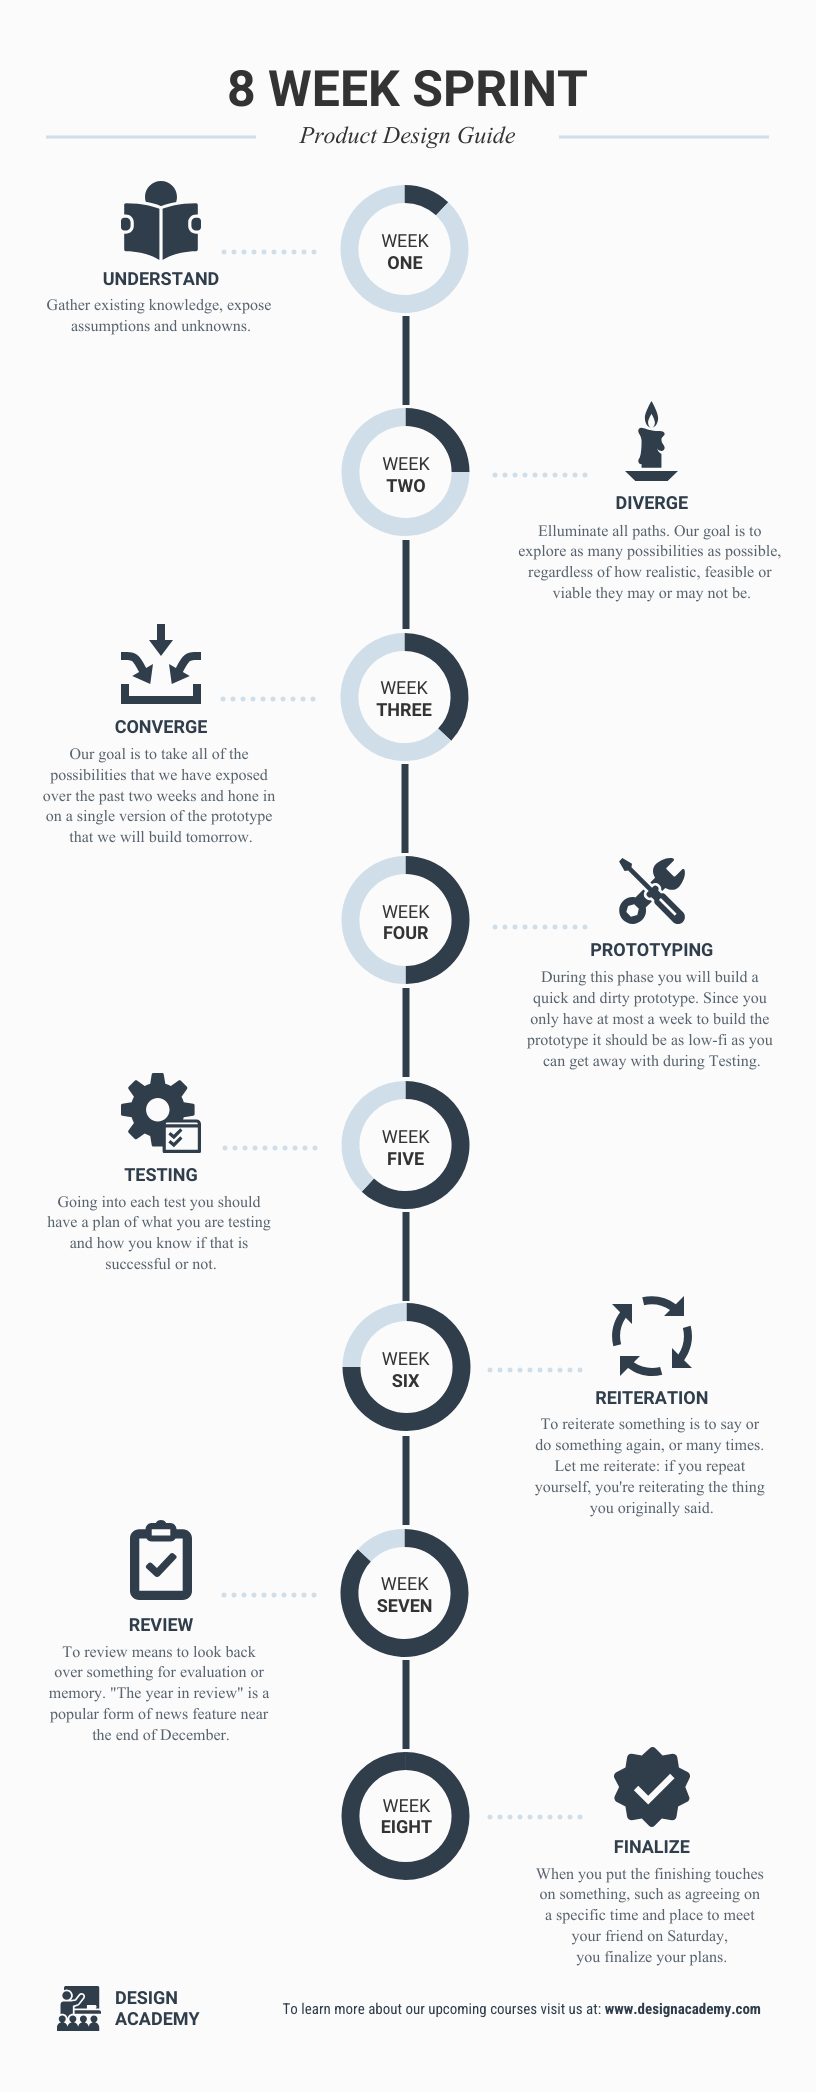
Project timelines can run horizontally, but they’re also a good match for vertical or portrait orientation. While this particular version is probably too tall for your Word doc, just update it with your content and it will flow seamlessly.
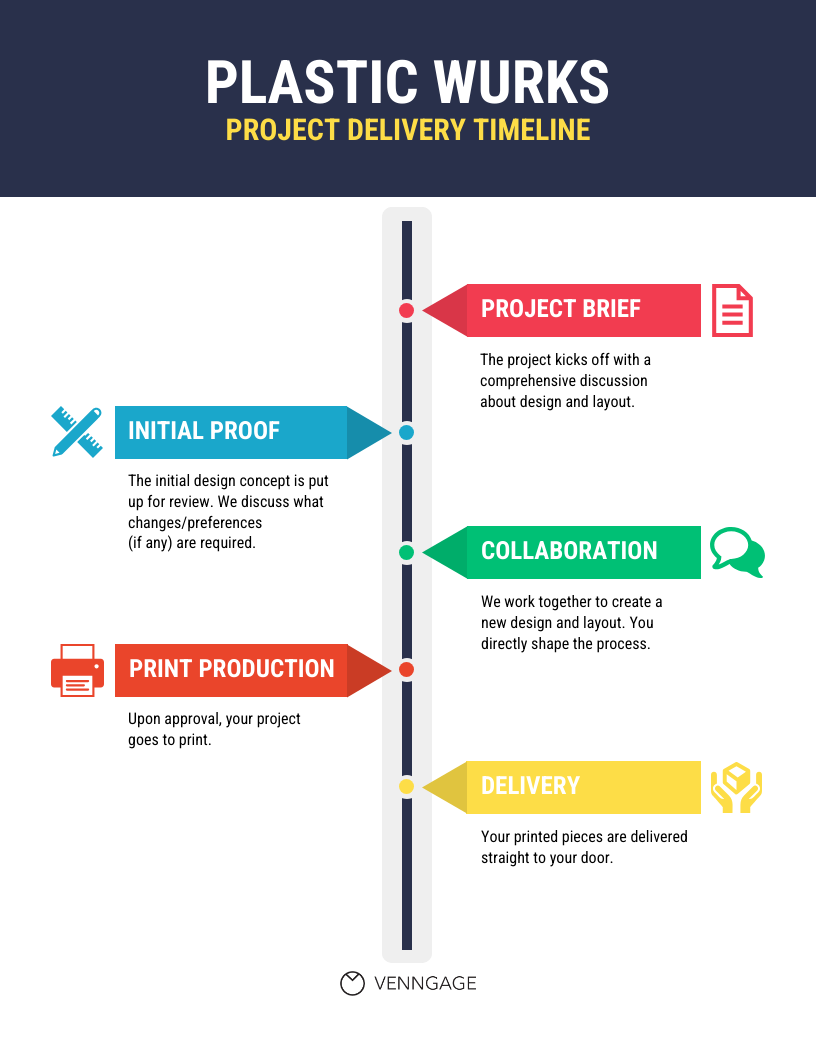
This colorful vertical timeline shows you how much personality and visual appeal you can add to the timelines you create for Word using Venngage’s Timeline Maker.
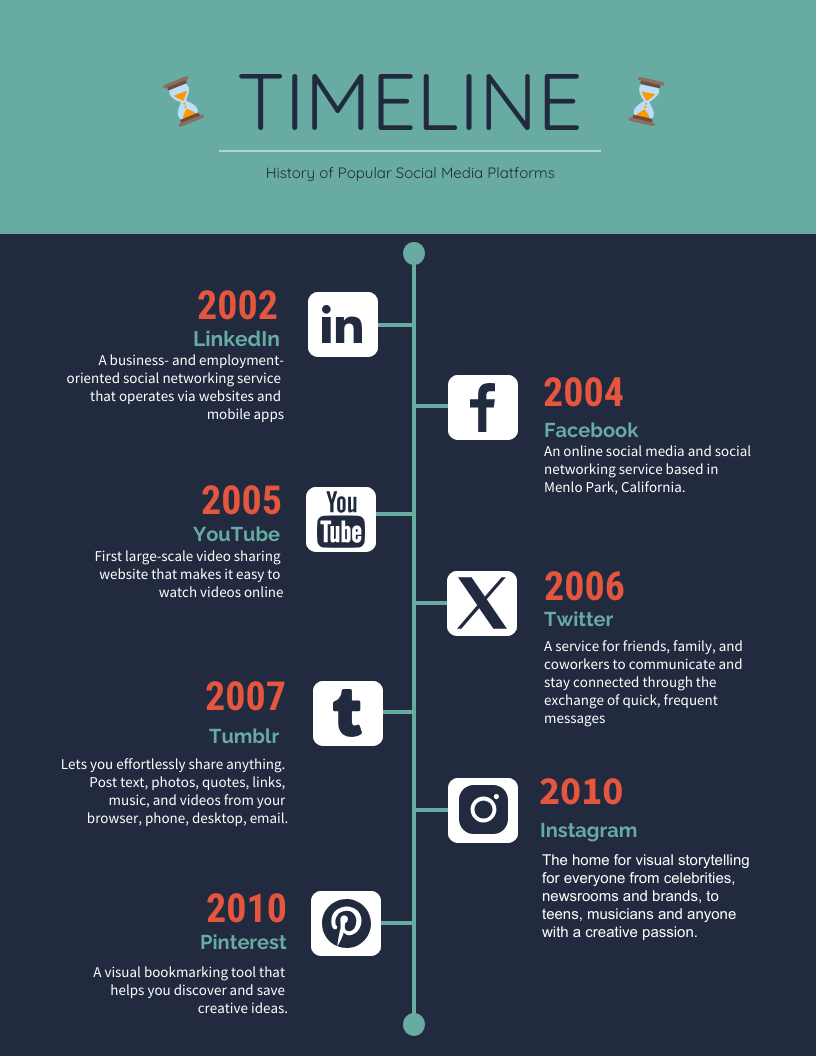
Integrate well-known logos to enable your audience to make immediate mental connections at just a glance.
Project management timeline templates for Word
We’ve touched on this a bit already, but project managers are some of the most regular users of timelines. Project management timelines are excellent additions to Word documents, particularly proposals or contracts.
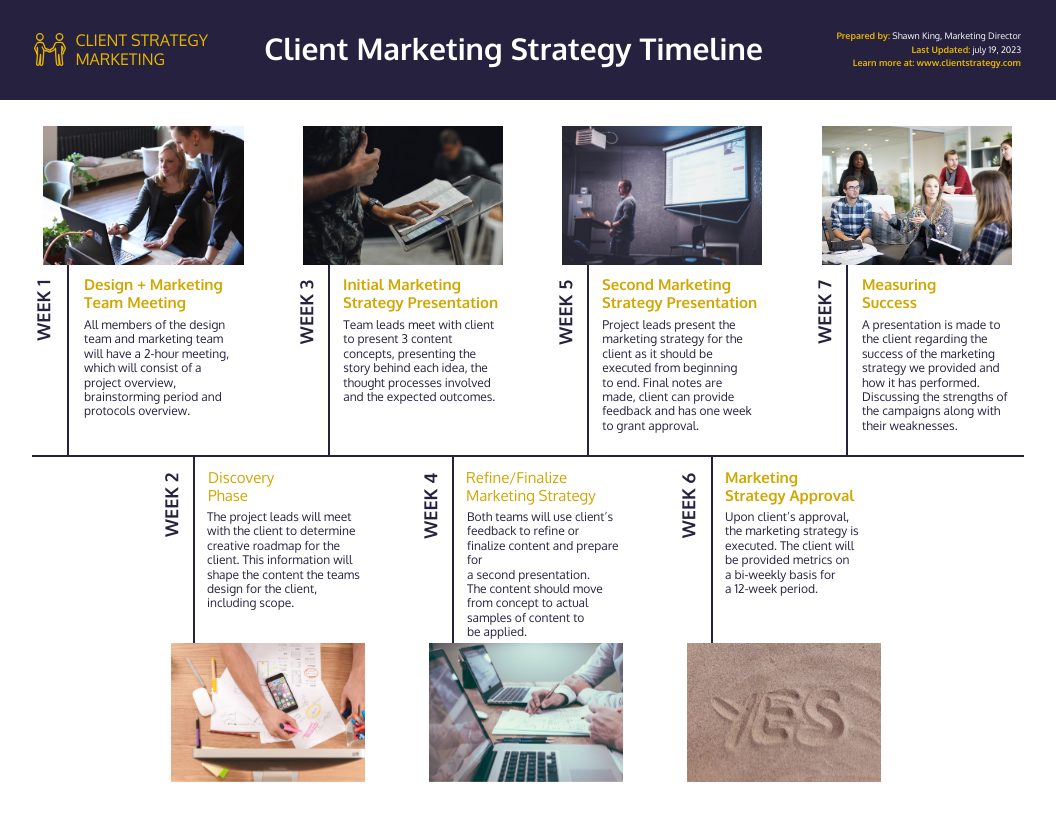
Project management timelines are easy to slot into contracts for client review or other planning documents formatted in Word. Add some images of your actual projects to further engage your team and clients.
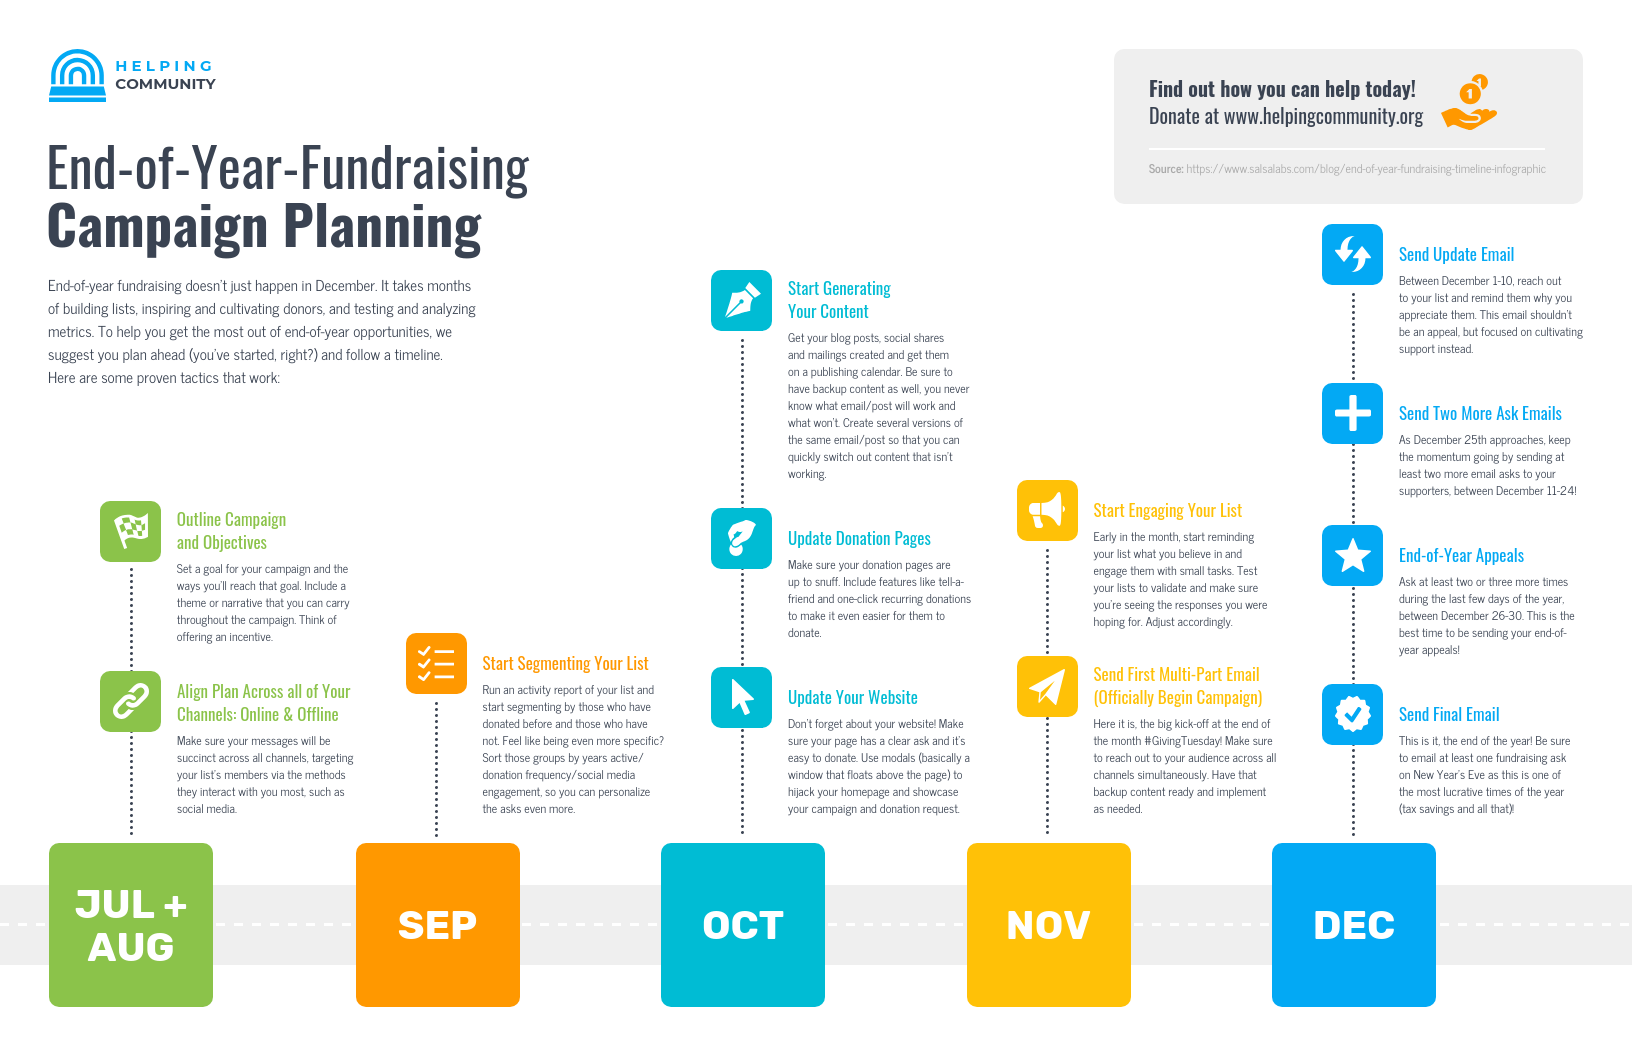
Keep all necessary tasks clear in the team’s mind with a project management timeline that lists out each task’s target completion date.
Project plan timeline templates for Word
Project plan timelines can be used in the early phases of a project before too much work has been done. In fact, creating a project plan timeline for a Word document like a proposal or the first draft of a contract can help all parties see issues and make changes.
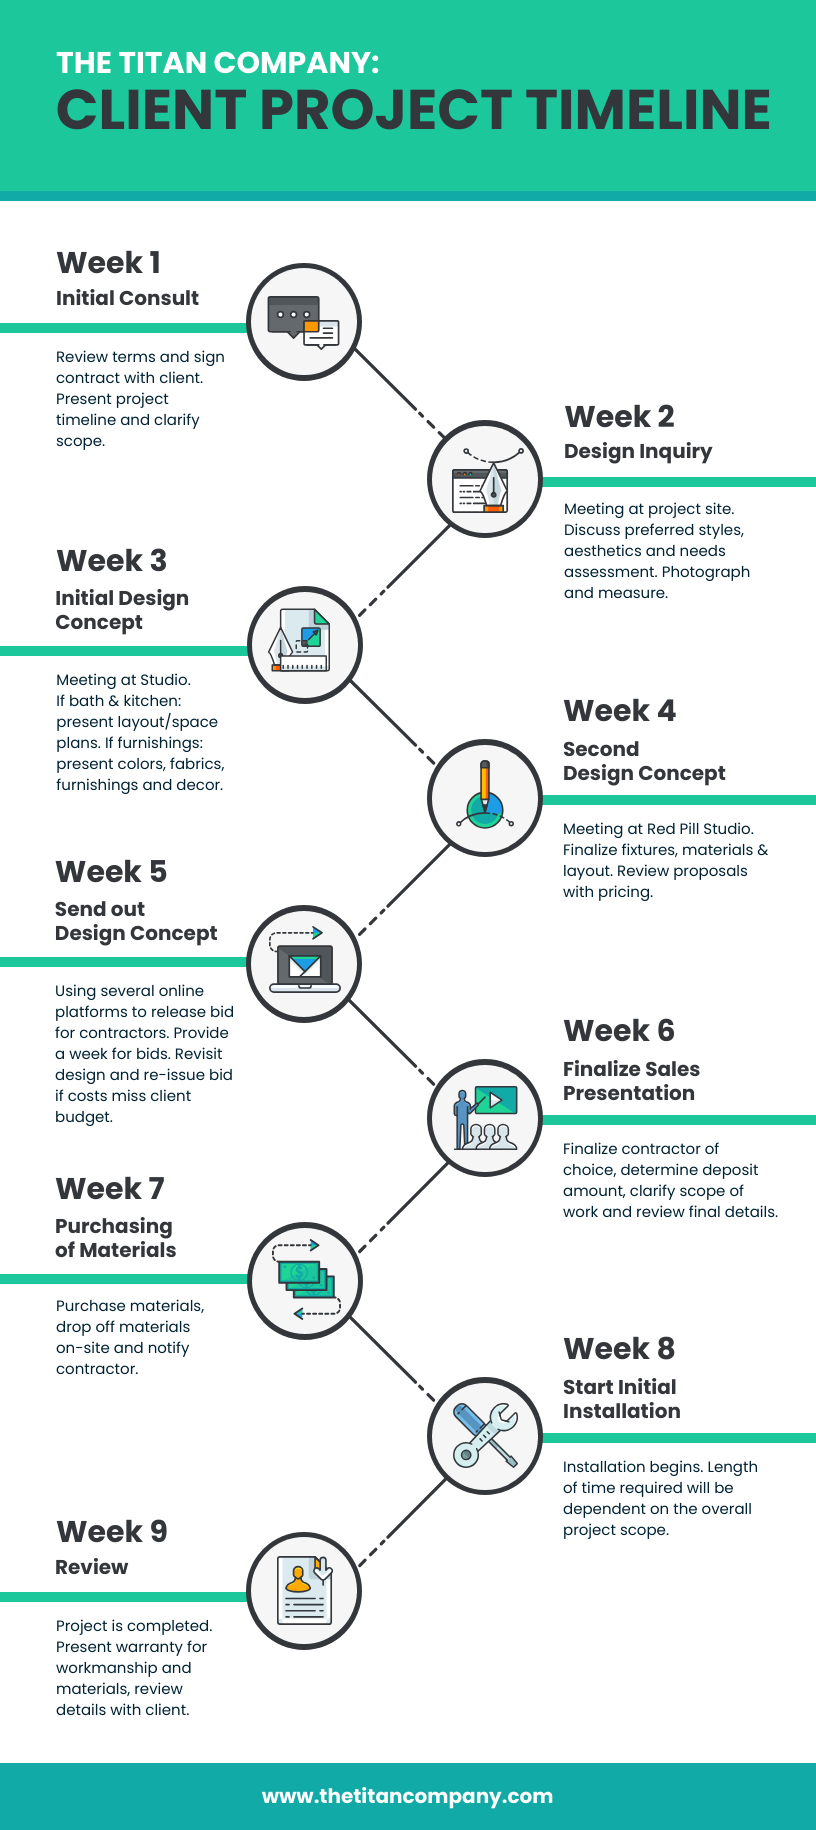
Project plan timelines are useful before, during and even after projects. Even before you’ve landed that big contract, it’s helpful to create a project plan timeline that outlines ideal timeframes for the completion of various steps.
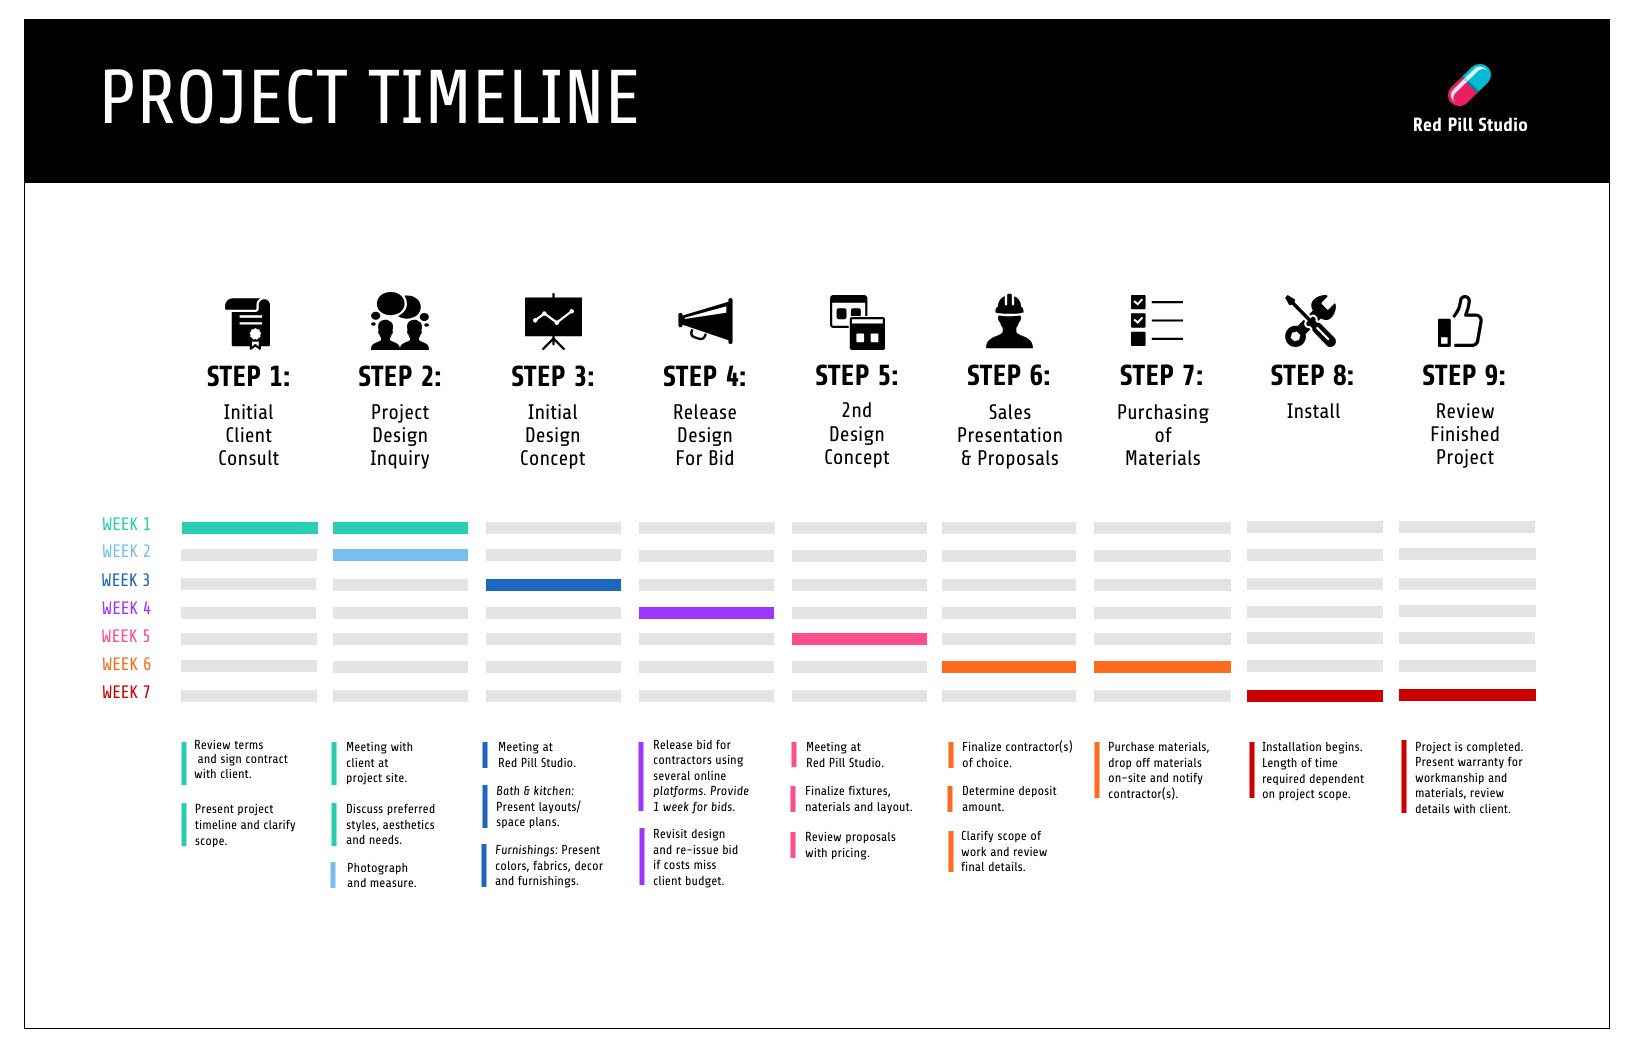
Add some light data visualization like this project plan timeline. Note how each week is color-coded and a new team or task is highlighted. This is helpful to help team members understand how their tasks may intersect or overlap with teammates.
Project schedule templates for Word
Get into the nitty-gritty details of the flow of your team’s work with a project schedule timeline. These can be easily updated to cover a single big event or several weeks or months of tasks that need to be completed.
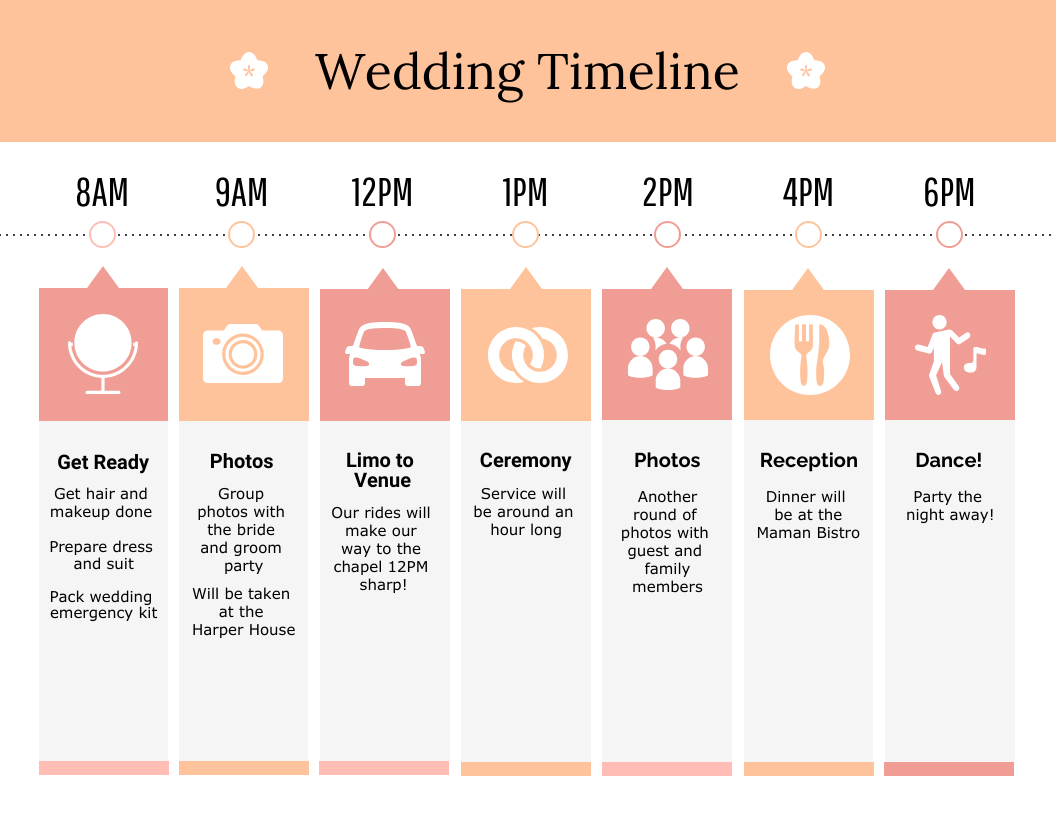
What is a wedding if not one big, joyful, emotionally draining project? Take inspiration from this schedule template for your events, whether they’re big meetings, conventions or other complex projects.
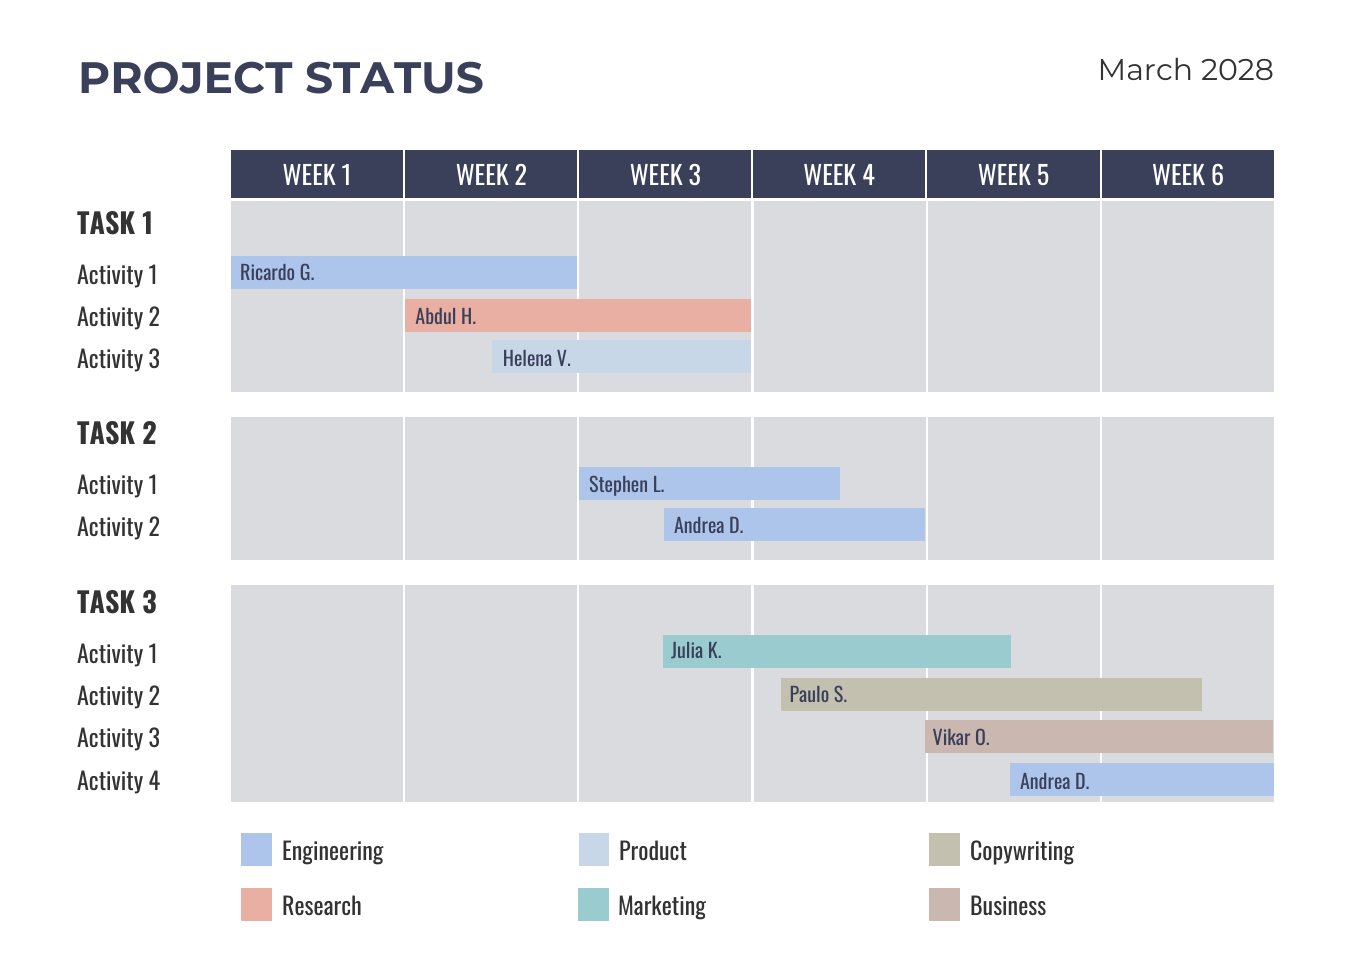
This project schedule template can be quickly edited and customized for your team. Note how both names and job functions are listed. Being so detailed with a project schedule is an excellent way to build accountability in your work.
Project milestone templates for Word
Keep the entire team well-informed by adding a project milestone timeline to your Word documents. Depending on how often you’re creating new docs for the project, it may be wise to consider project milestone templates that can be updated when tasks are completed.
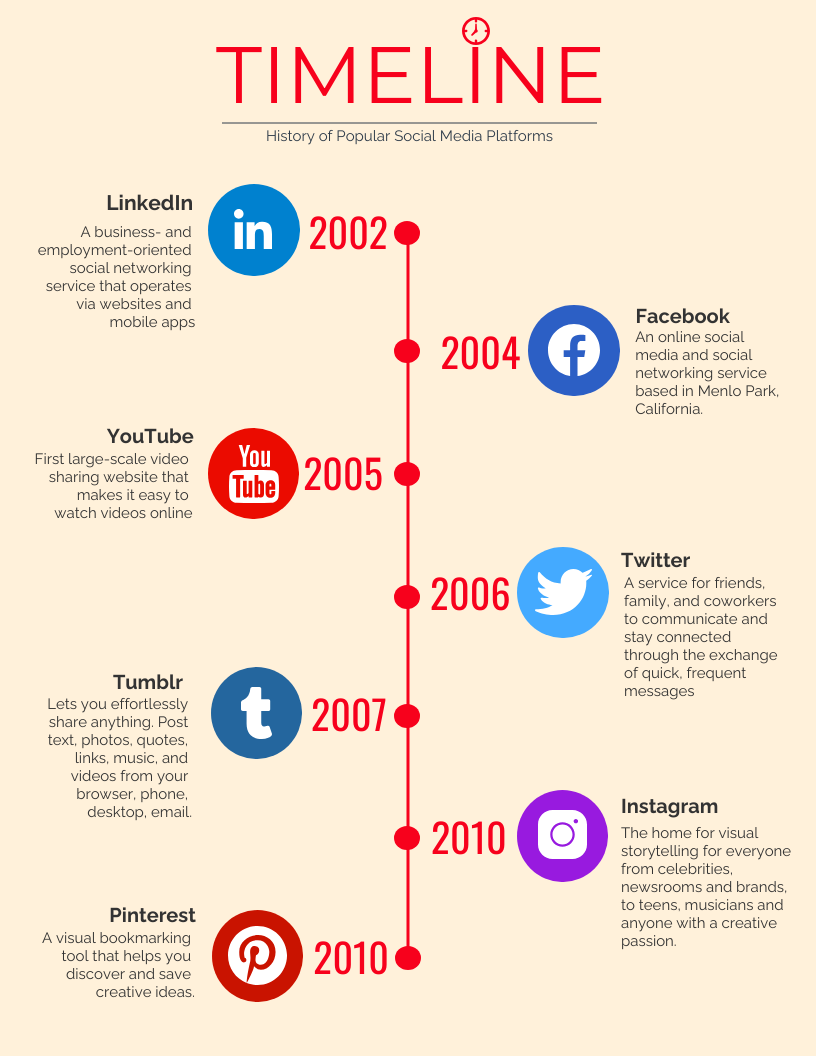
While this example applies to social media platforms, it would also make a great addition to your project milestone template library. Rather than social media logos, consider icons that apply to each phase of the project.
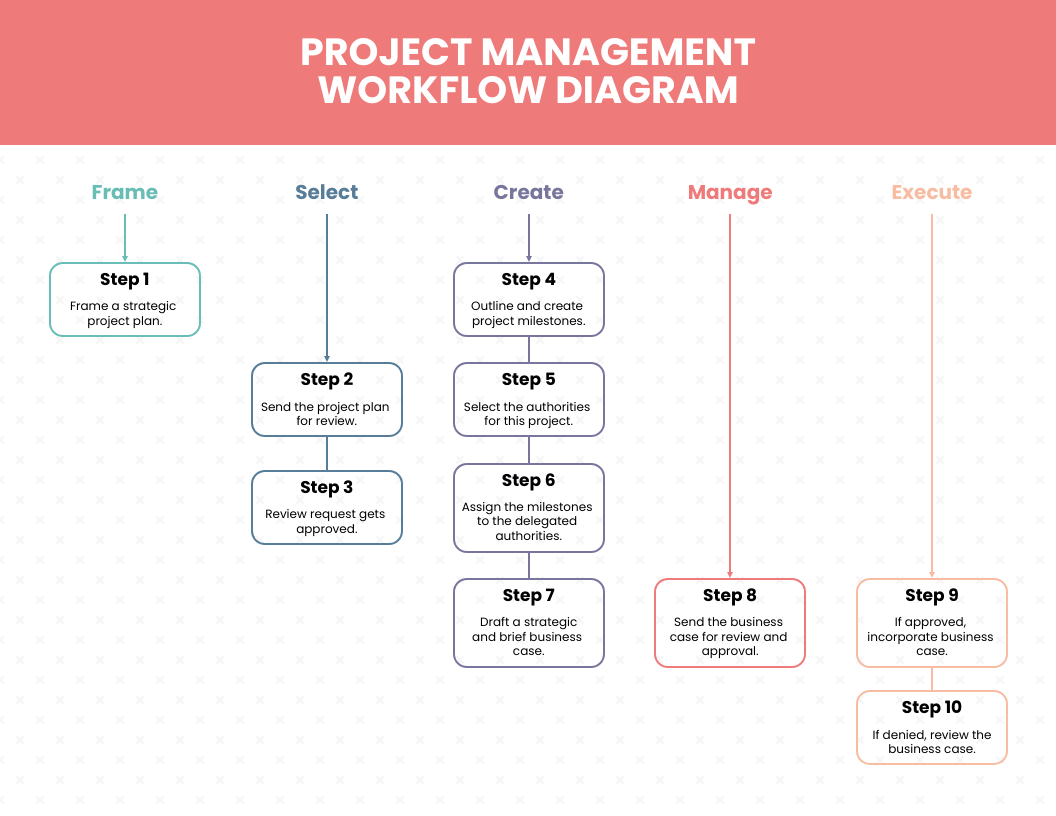
This unique approach to a project milestone timeline reduces visual clutter while it illustrates when and how various roles and responsibilities overlap throughout the course of a project.
Event timeline templates for Word
Events like conventions, gatherings, reunions and others require meticulous planning, often down to the hour. Event timelines are wise additions to participant or speaker packets created in Word.
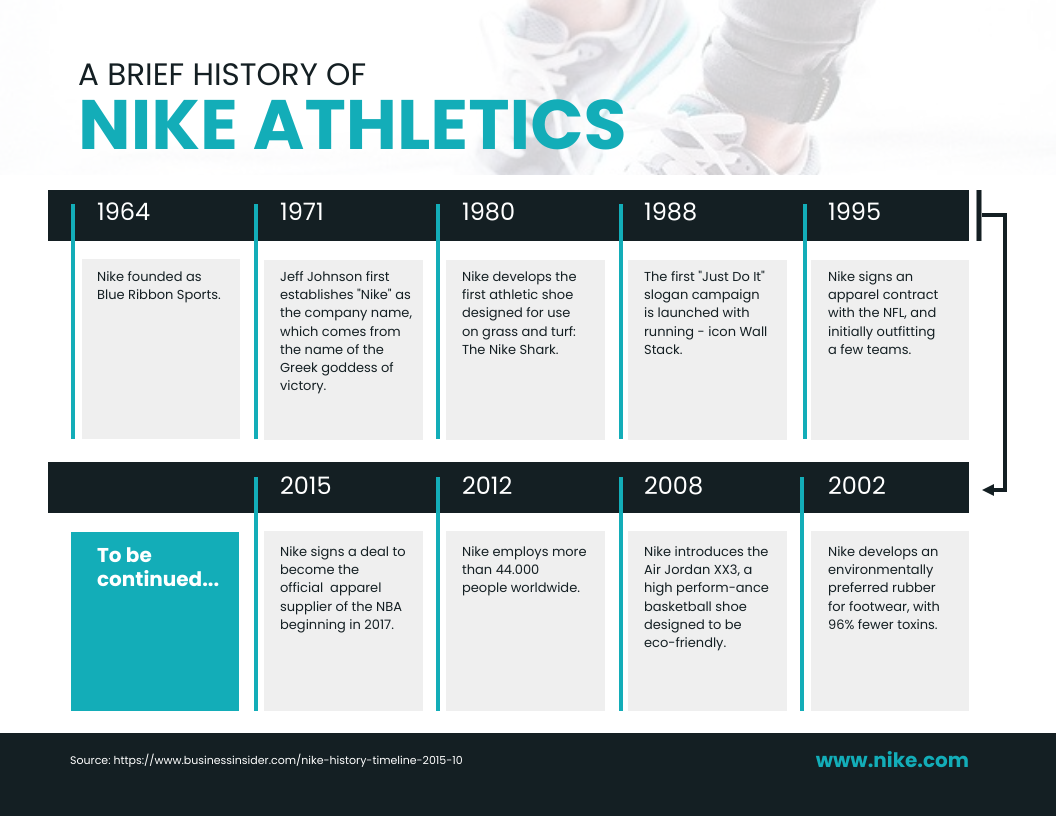
This horizontal timeline created to illustrate the events in the corporate history of Nike could easily be updated for event planning. Think of it as a calendar. When and where will activities happen and who will be involved?

Your Word documents may not need to feel like event posters. But consider templates like this event timeline if what you’re planning leans celebratory rather than corporate.
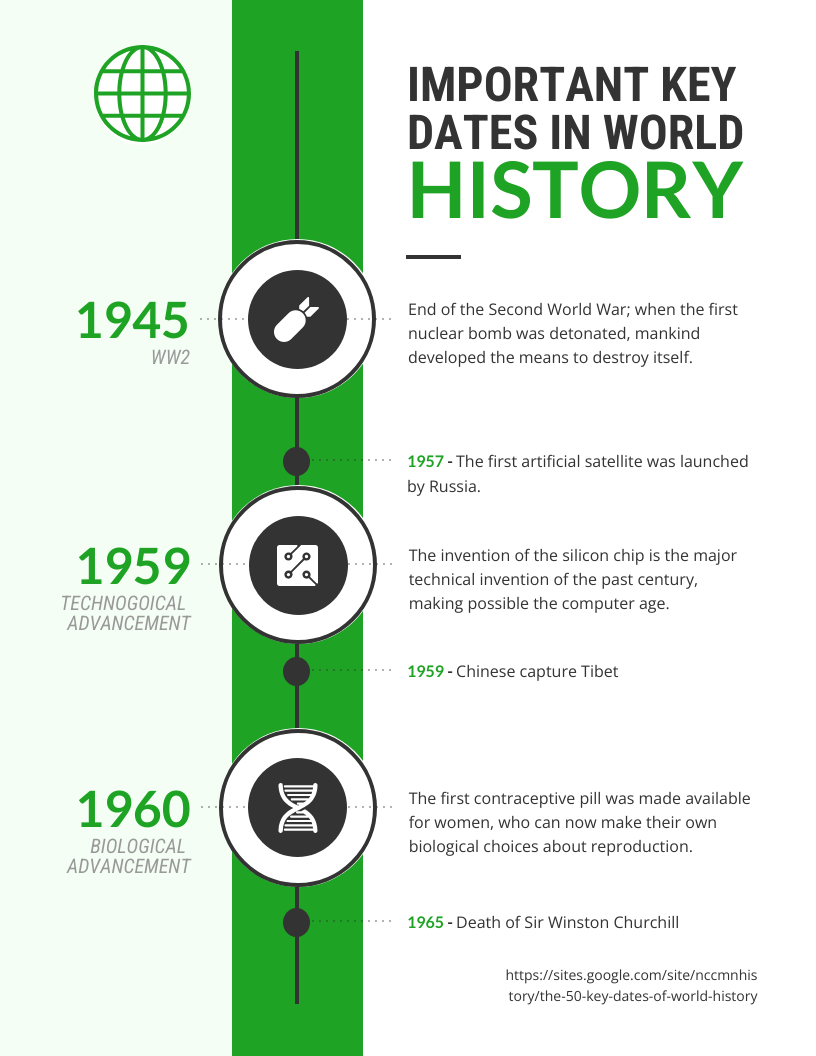
This history timeline would be easy to modify for an event timeline. Use the circles and icons to plug the keynotes and other major events and use the smaller text to provide important supporting information.
Chronology templates for Word
Explain the beat-by-beat events with a chronology timeline template. These are useful both for real-world historical events as well as the detailed steps that will take place in your projects.
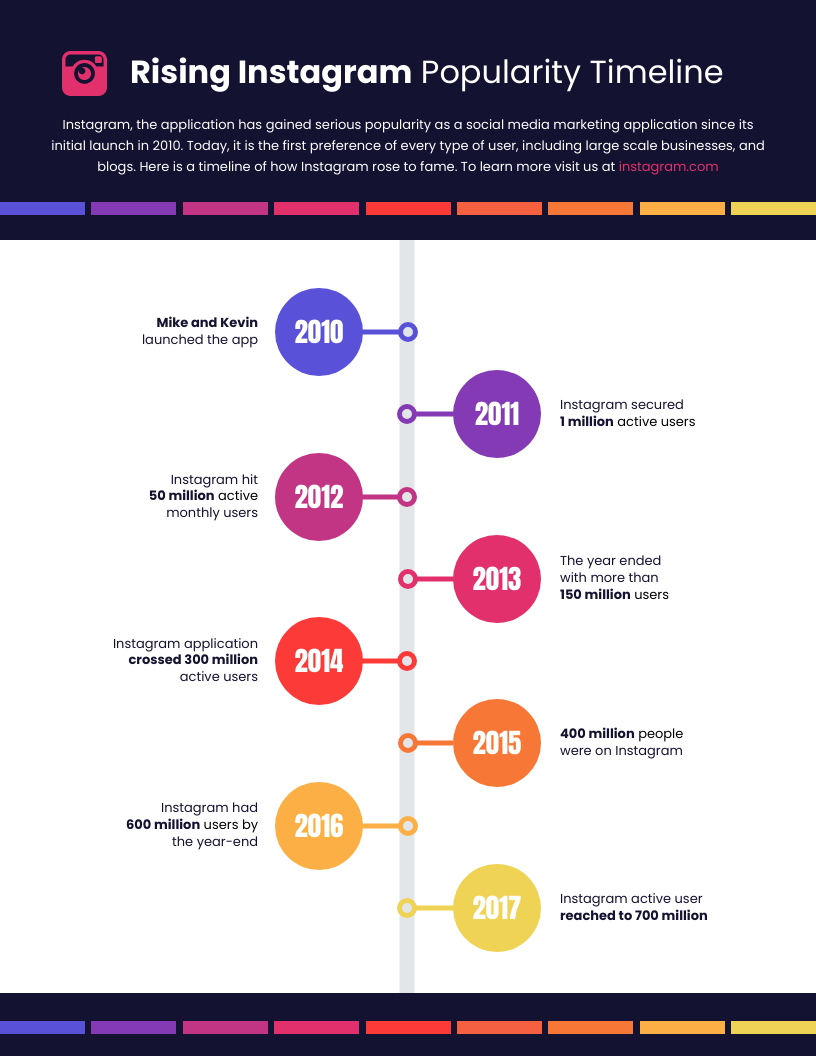
Chronology templates are easy to add to Word documents in which the reader will need to know certain basic facts in order to understand what’s to come.
This is especially true with white papers and other research in which a lack of knowledge about how events have transpired could affect understanding and appreciation.
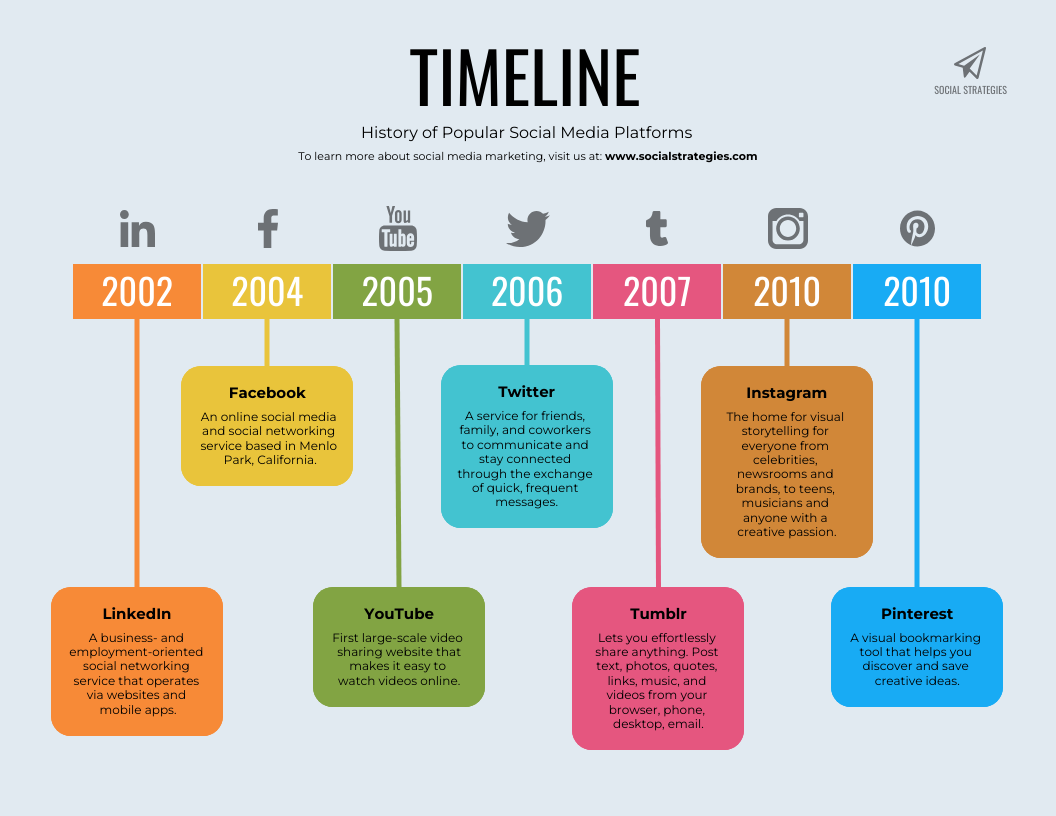
Chronology timelines can also be created in horizontal formats, as this example illustrates. Consider updating the color palette if your Word doc is for a corporate audience.
How to make a Microsoft Word timeline in Venngage
Creating a Microsoft Word timeline in Venngage is easy and intuitive. Thanks to the new smart list features and smart templates we’re rolling out, it’s even quicker and more streamlined to bring your vision to life.
Step 1: Sign up for a free Venngage account
You can sign up with your email, Gmail or Facebook account.
Step 2: Select a timeline template from our templates library
Aside from the ones we’ve shared above, we also offer hundreds of others that are easy to edit even if you have no design skills.
Step 3: Start editing your timeline with our smart timeline editor
Most of our templates are created with the simple drag-and-drop editor that lets you design in minutes, even if you have no design skills.
We’re also rolling out new smart templates with the smart editor which makes it easy for you to add new nodes/branches to your timeline.
You can add, edit, delete or drag nodes, texts, icons around in one click, and the node will automatically adjust to whatever content you add to it as well.
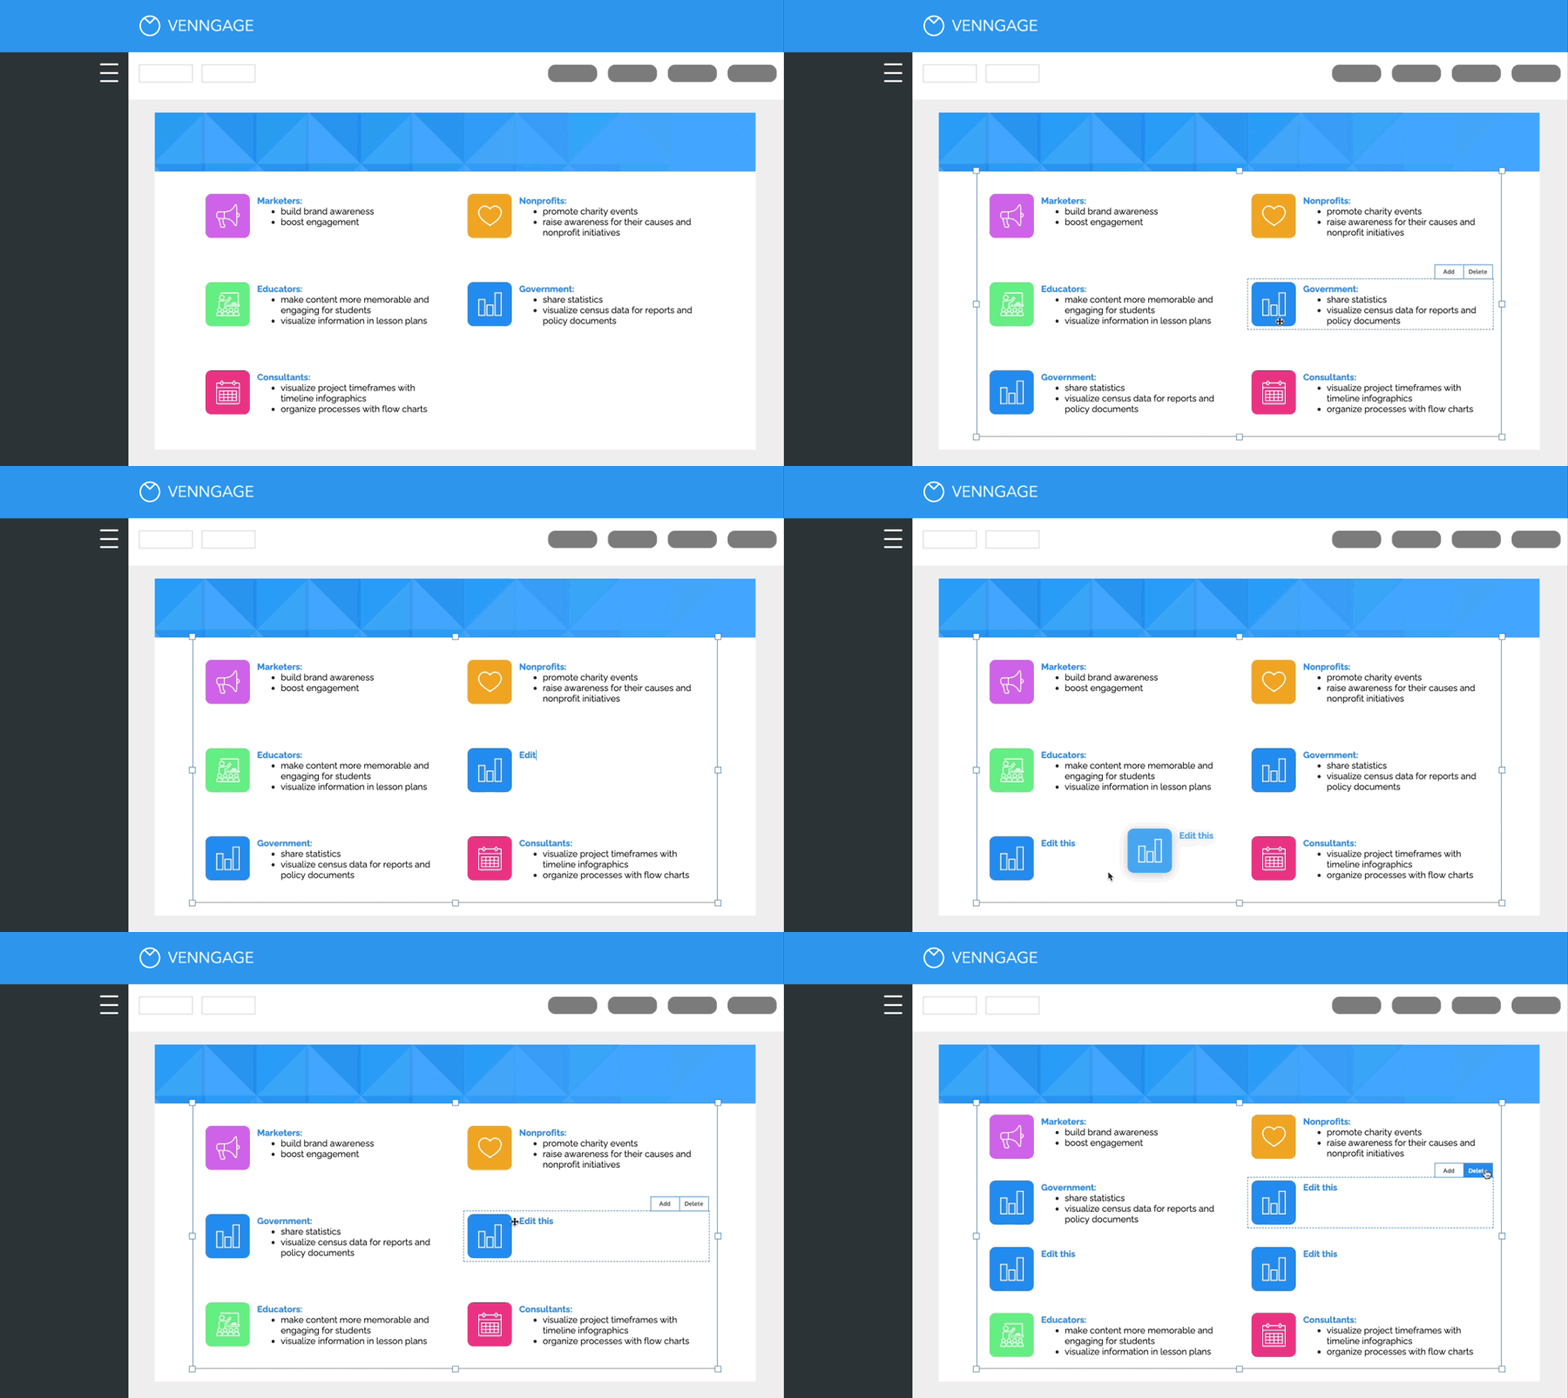
Step 4: Liven up your timeline with icons, illustrations and branding elements
We offer over 40,000 icons and illustrations for you to visualize any information you want on your flowchart.
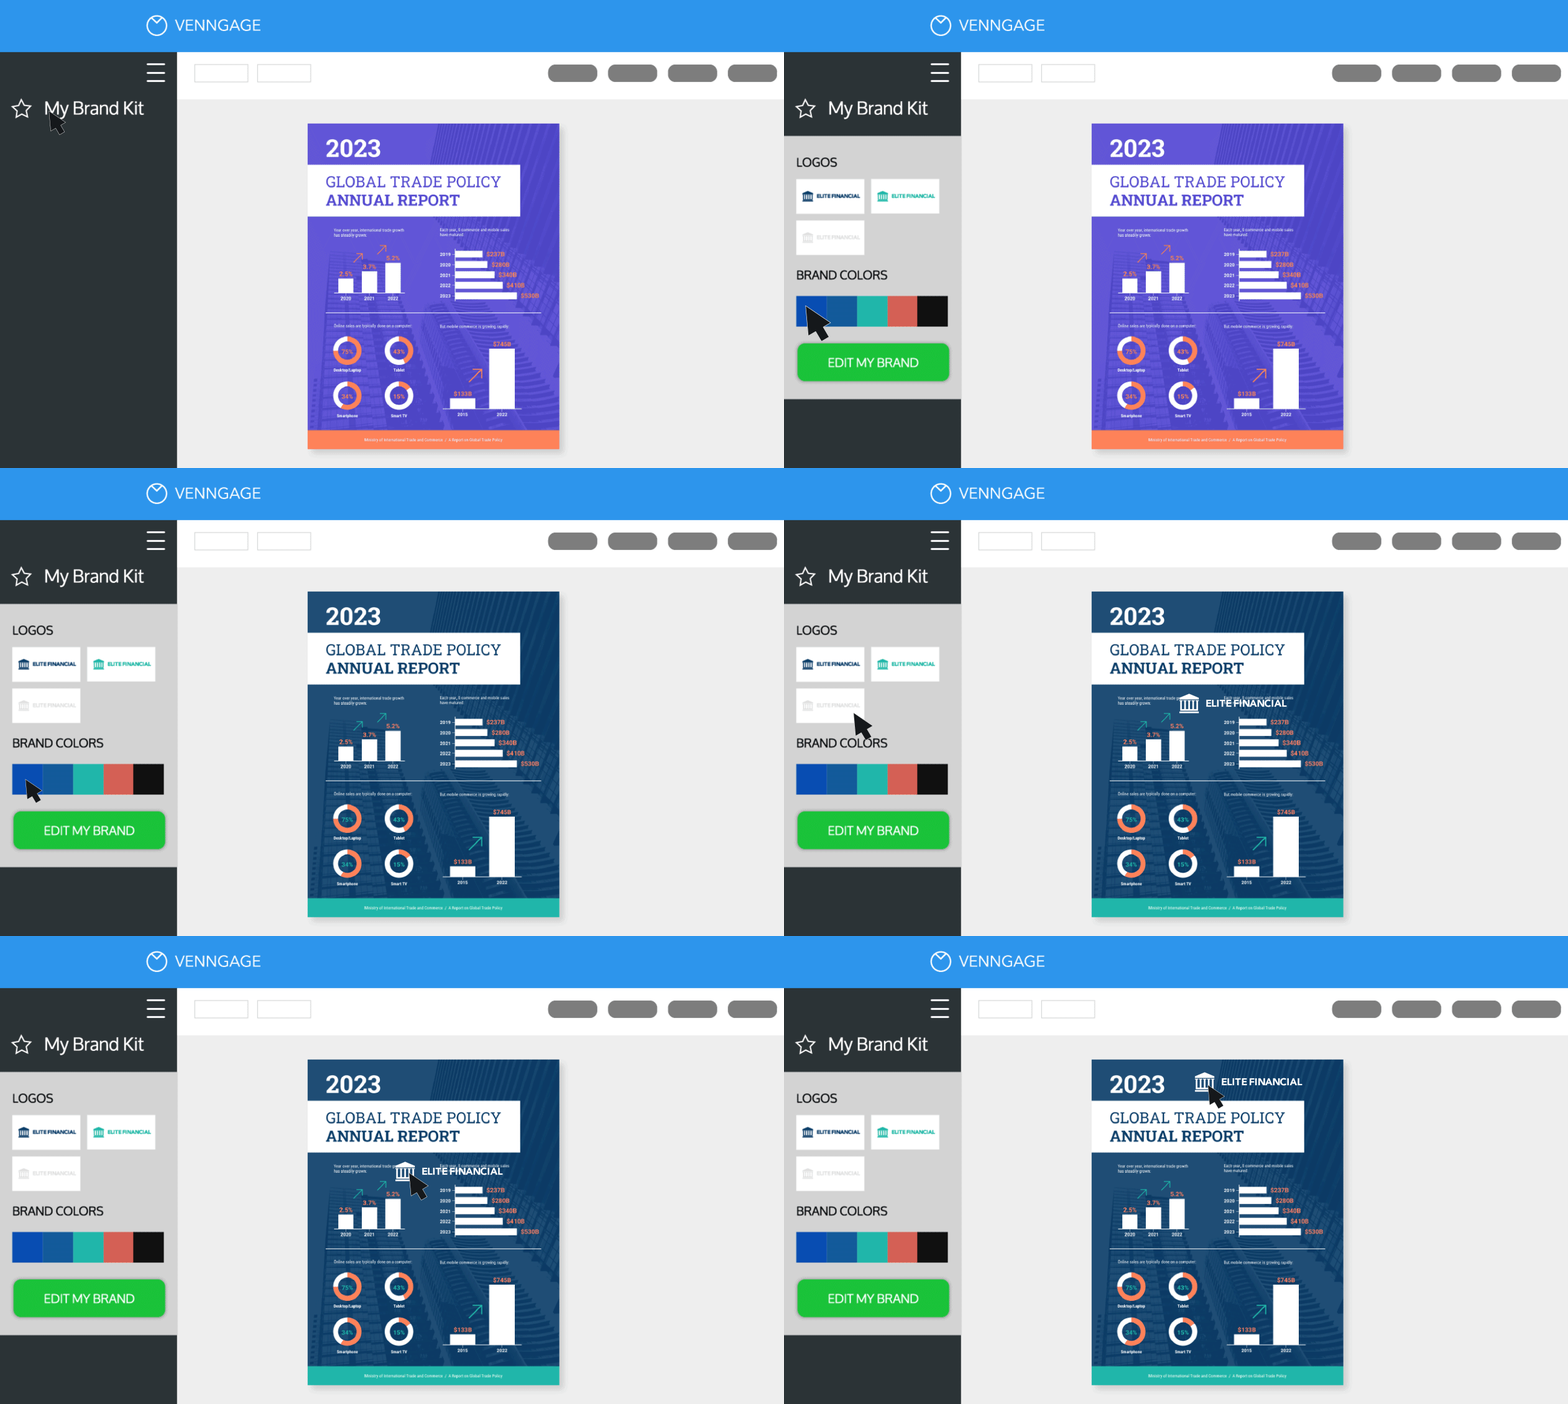
If you upgrade to a Business account, you can enjoy My Brand Kit—the one-click branding kit that lets you upload your logo and apply brand colors and fonts to any design.
Step 5: Share a public link for free or upgrade to download
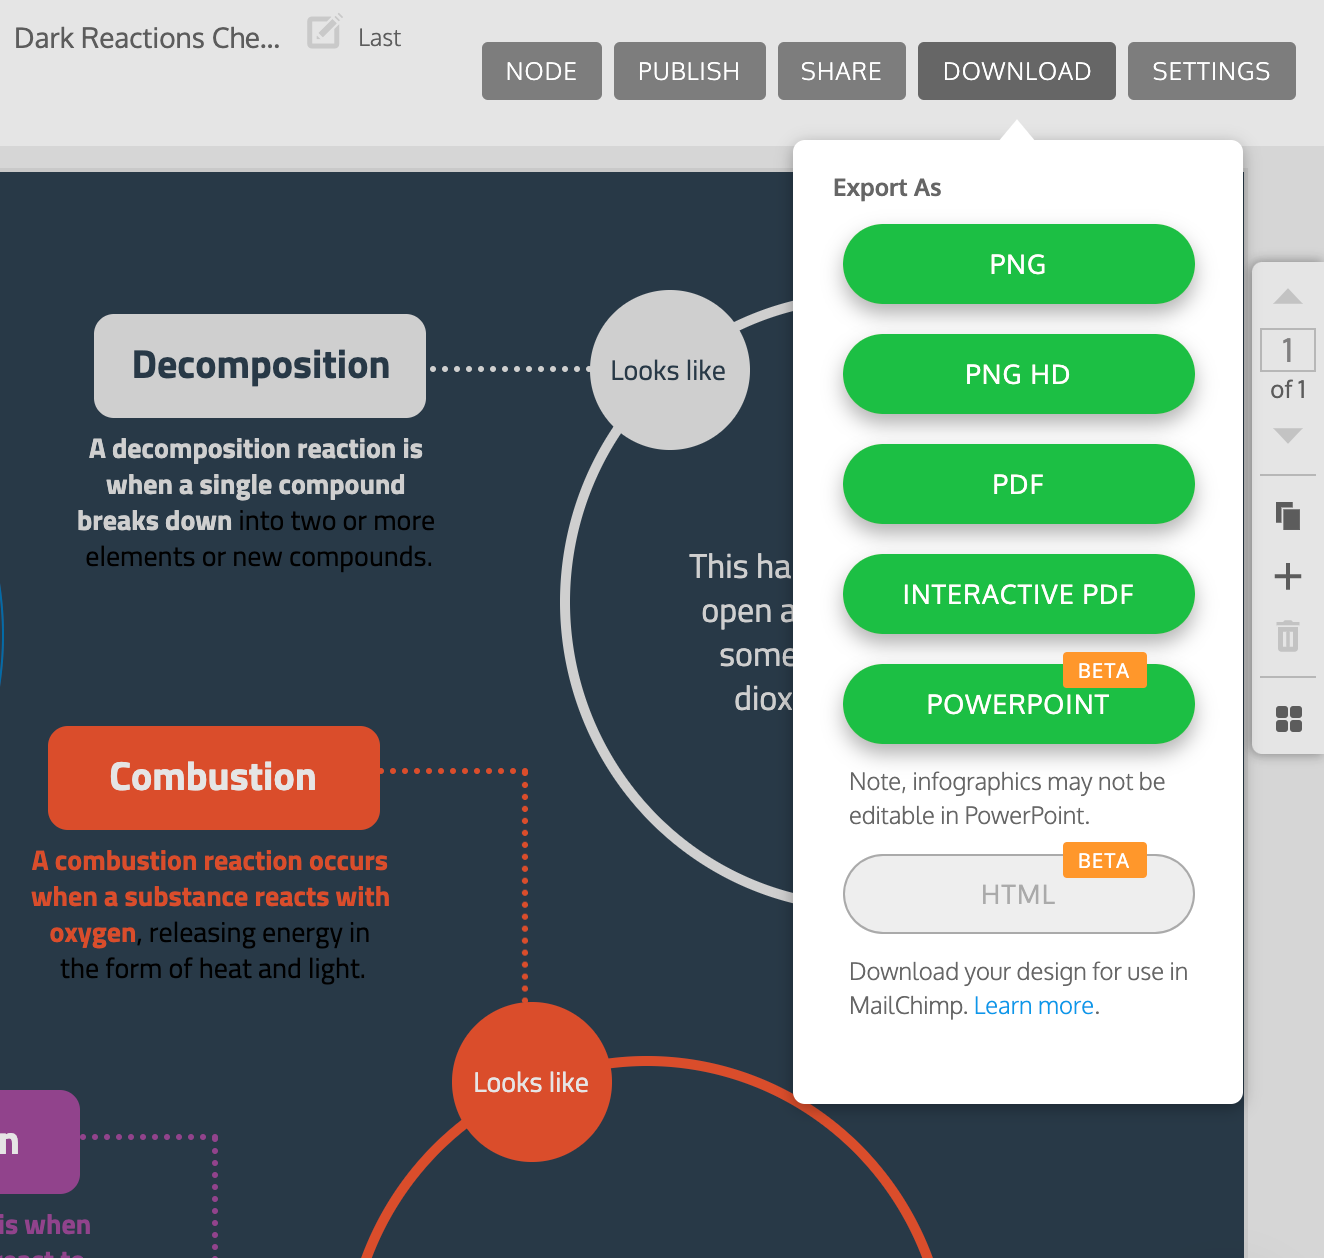
Once you upgrade, you can download your timeline as a PNG file that you can insert to your Word document. After you’ve downloaded, feel free to go back and make edits any time.
You can also export your timeline in PDF, Interactive PDF or PowerPoint format—if you want to use it for your presentation.
In summary: Use Venngage to create a custom, engaging timeline for your Word documents
Get the best of both worlds by building a stunning and effective timeline graphic that will fit seamlessly into your business reports, papers, contracts and other Word documents.
Use Venngage’s Timeline Maker, start creating for timeline for free and upgrade to a paid plan to export a timeline graphic to Word. No design experience required.


